Elgato Game Capture HD - Not just only for gaming!


When it comes to recording on-screen information on your computer, there are a few ways to go about it. To list a few examples, you can utilise on-screen recording softwares such as TechSmith Snagit or VLC without additional hardware to integrate into your existing system. There are also economical alternatives such as a physical video recorder (e.g. DVD / Blu-Ray writer) that can be used to record the video images of your on-screen activities. Nonetheless, I am personally using an Elgato screen capture card for all my on-screen recording applications.

Elgato Game Capture HD, passively powered screen capture card

Before I continue to elaborate on my user experience with this particular device, I would like to share my opinions on deciding to employ the Elgato screen capture card for this application. As mentioned above, using an on-screen recording software has its advantages. However, it also requires more computing processing power for the operation of the software. In addition, it adds more stress to your existing graphical load in order for it to load the on-screen information and at the same time, record it into the same computer.

In contrast, using a dedicated video recorder has the merit of migrating the entire recording graphical processing requirements into a dedicated hardware. This allows the computer to have more headroom in its graphical load and hence, create a more stable system. However, most professional video recorders such as Blackmagic Design HyperDeck SSD Video Recorder would cost around $350 USD, which is astronomical for most individuals. Although you might argue that a generic DVD / Blu-Ray recorder would be able to perform about the same task, it lacks easy access to functions such as monitoring of sources.

Therefore, the Elgato Game Capture HD was a nice fit for my recording requirement. I could introduce an additional laptop, which is easily available, to spread out my graphical load. The screen capture card also includes a recording software that has some very appealing features. Although this card was designed for gamers to record their gameplay, I do not have issues recording with this unit for other purposes.

The wealth of inputs the capture card accepts, HDMI, component video and analog audio 

First and foremost, the screen capture card accepts both component (analog) and HDMI (digital) inputs. This allows the device to be versatile in recording different source options. Secondly, an additional video splitter was not required to project my video image onto a bigger screen (if needed), as the unit has an HDMI low latency pass-through port (to prevent the unit from affecting the user experience). Being able to monitor recording parameters from the software (Game Capture HD) is definitely a plus as I am able to access and make changes to different features easily (e.g. audio input source and gain, video title). On top of that, the bundled software has the ability to perform simple editing tasks such as slicing video files and encoding edited files to suit compatibility with various media platforms (e.g. Youtube).

Game Capture HD software

Below is a video sample of the recording from the Elgato Game Capture HD.

Lighting programming on the MAonPC software. Something I have done when I was still attending AVT.

Despite the fact that Game Capture HD is being designed for the gaming market, the unit has fulfilled my recording demands exceptionally well. Although it is priced at around $180 SGD, the device is easy to carry around and is basically applicable to any device with a component / HDMI output.

YWFU

Prometheus Beta-QR - An Item I carry every day

Before I invested in a portable flashlight as an Everyday Carry (EDC) item, I always used the inbuilt flashlight on my smartphone. Although a smartphone's flashlight is super convenient (as you carry them around every day), I feel that the routine of retrieving your phone to unlock and access the flashlight app is a too slow and inconvenient.

Thus, the new flashlight I am looking for must satisfy a few important criteria:

  1. It must be small and portable enough to carry it easily everywhere.
  2. It must be easily retrievable for fast access.
  3. It must use only standard size battery (AA or AAA).

It took me a long time to search for a flashlight that fulfils all these criteria, but the Prometheus Beta-QR does it exceptionally well.

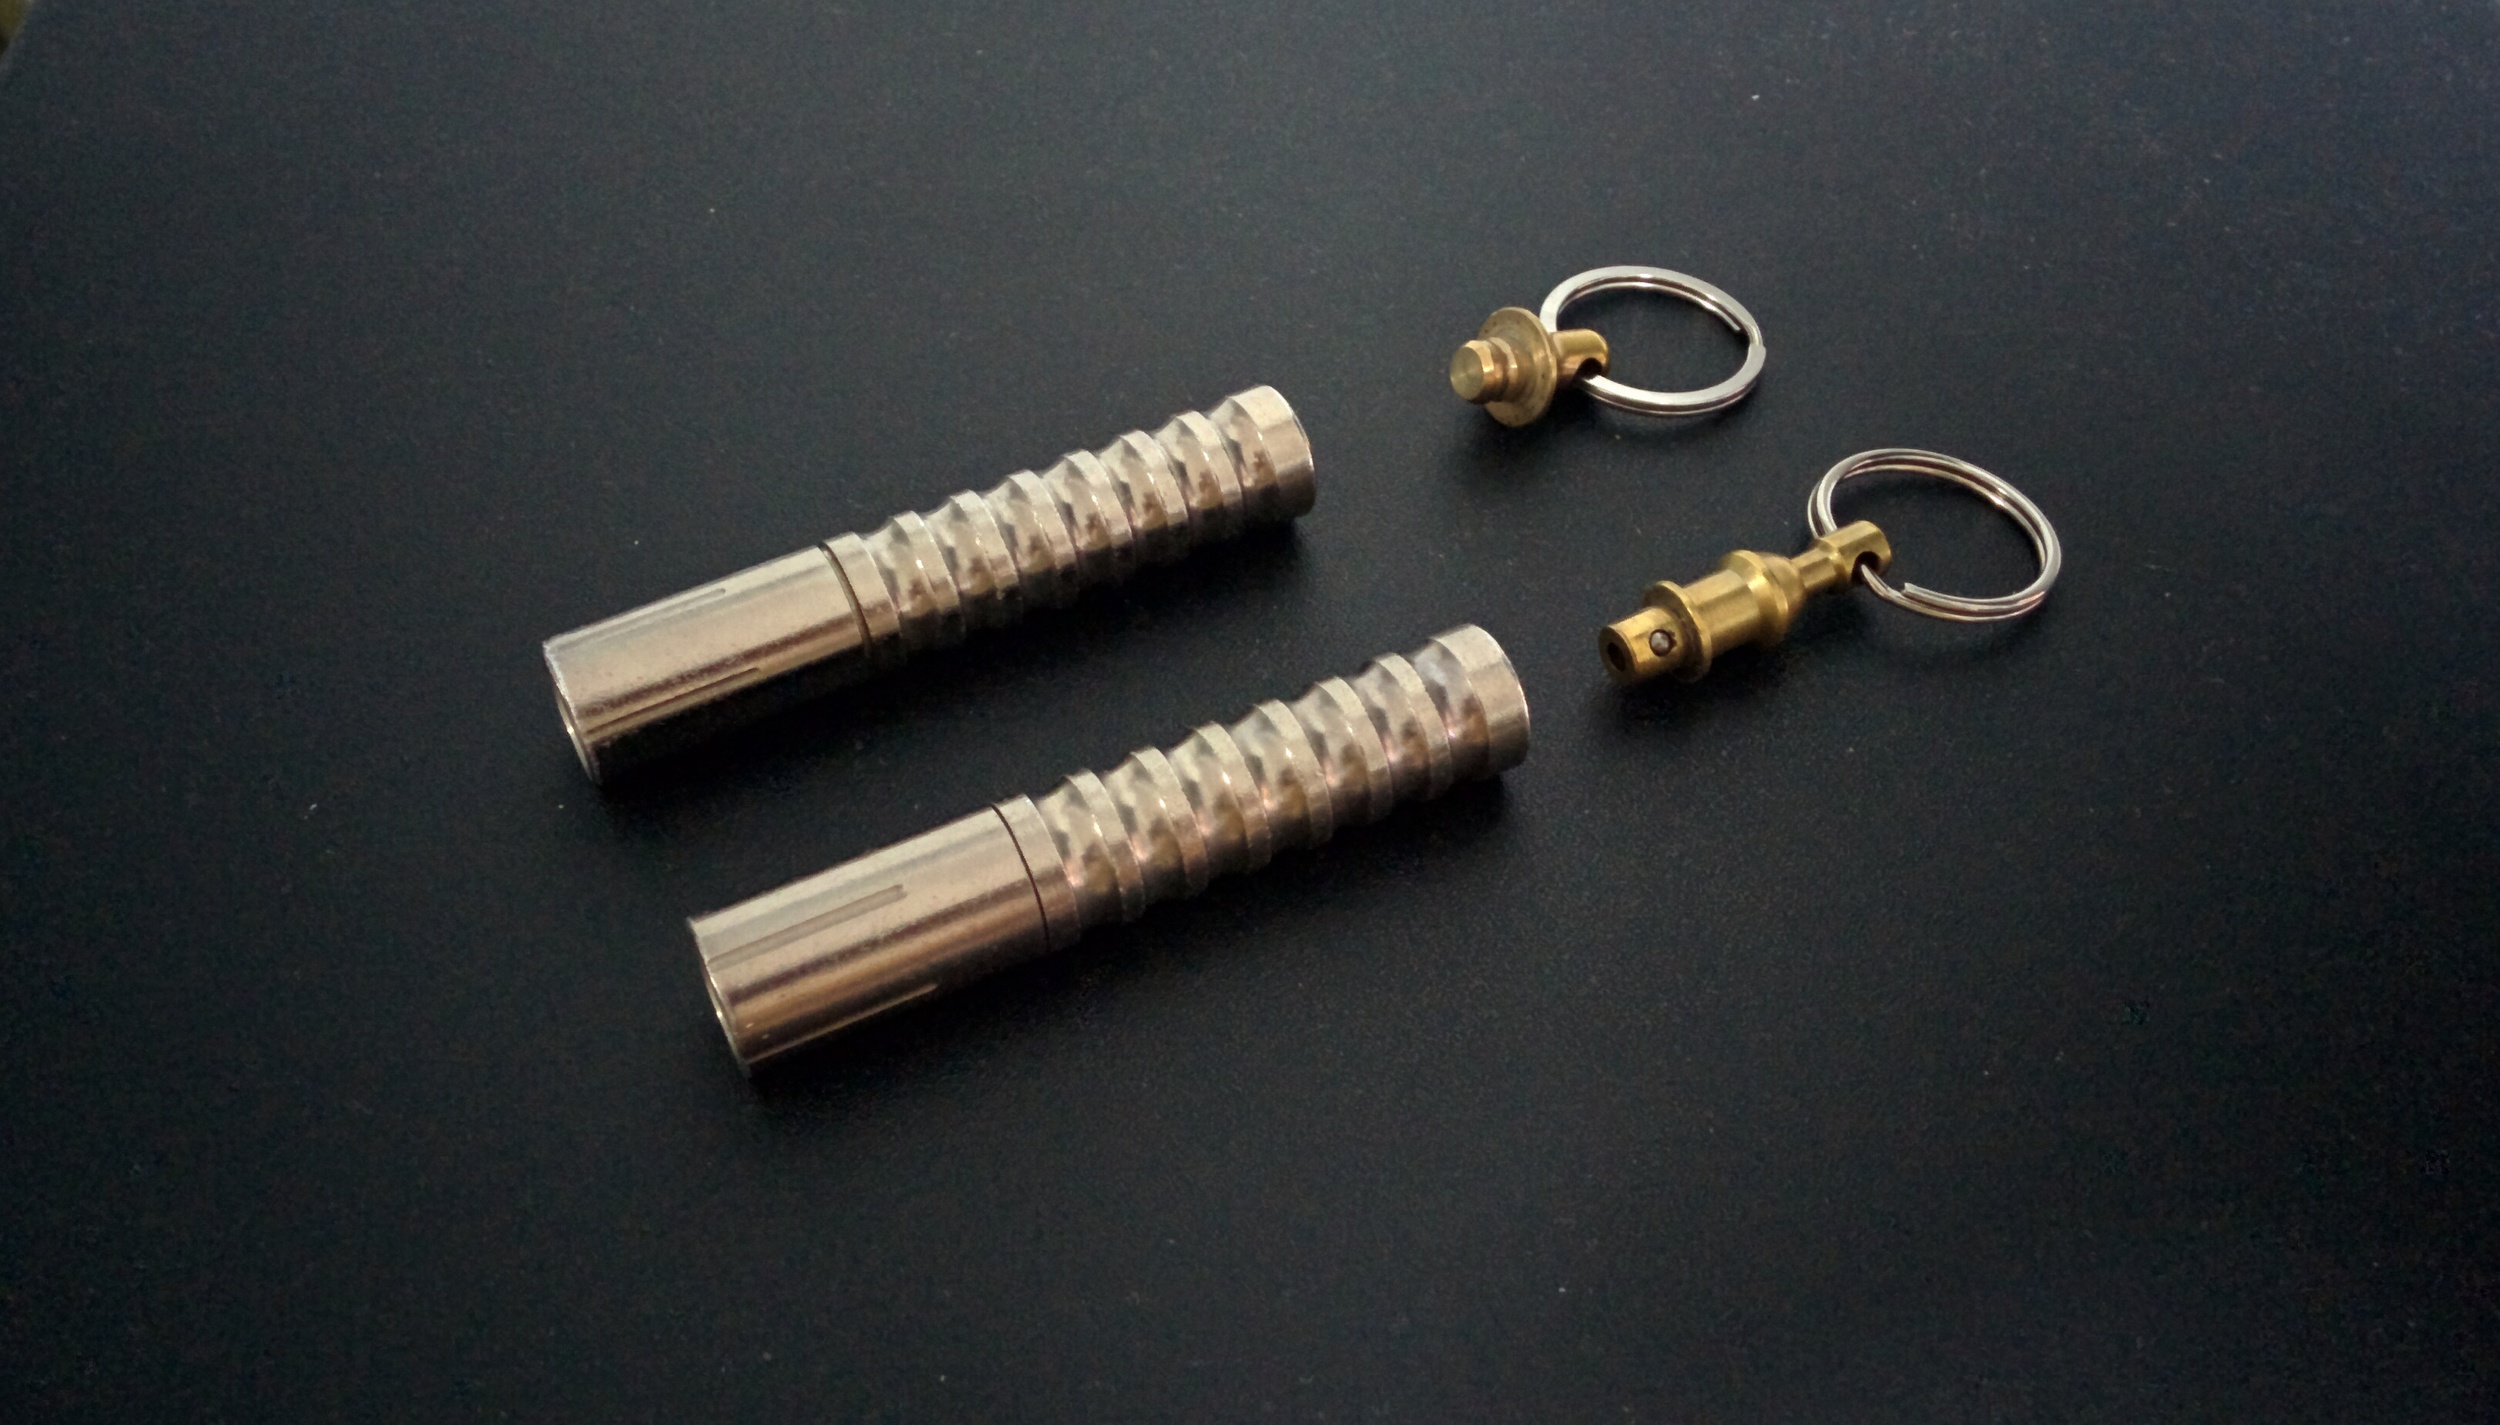
The various Prometheus Beta-QR I owned

This new investment has proven to be really useful and practical in my everyday life as I have used it to study small items (e.g. circuit boards) or look for stuff in a dark area. In a short two and a half years time frame, I have purchased both the Beta QRv1 and QRv2 just for the fact that it really suited my requirements. Many of my friends have joked on the importance I have placed on this small inconspicuous flashlight but then again, they realised its value when I was able to access the flashlight a lot quicker than their inbuilt torchlight apps in their smartphone.

The Beta-QR is bright enough (mode 2: 60 lumens) when you need to look at something far, and dim enough (mode 1: 15 lumens) for close up observation to prevent light glare (over exposure) on any small details. This is a lot more versatile as compared to the flashlights in smartphones.

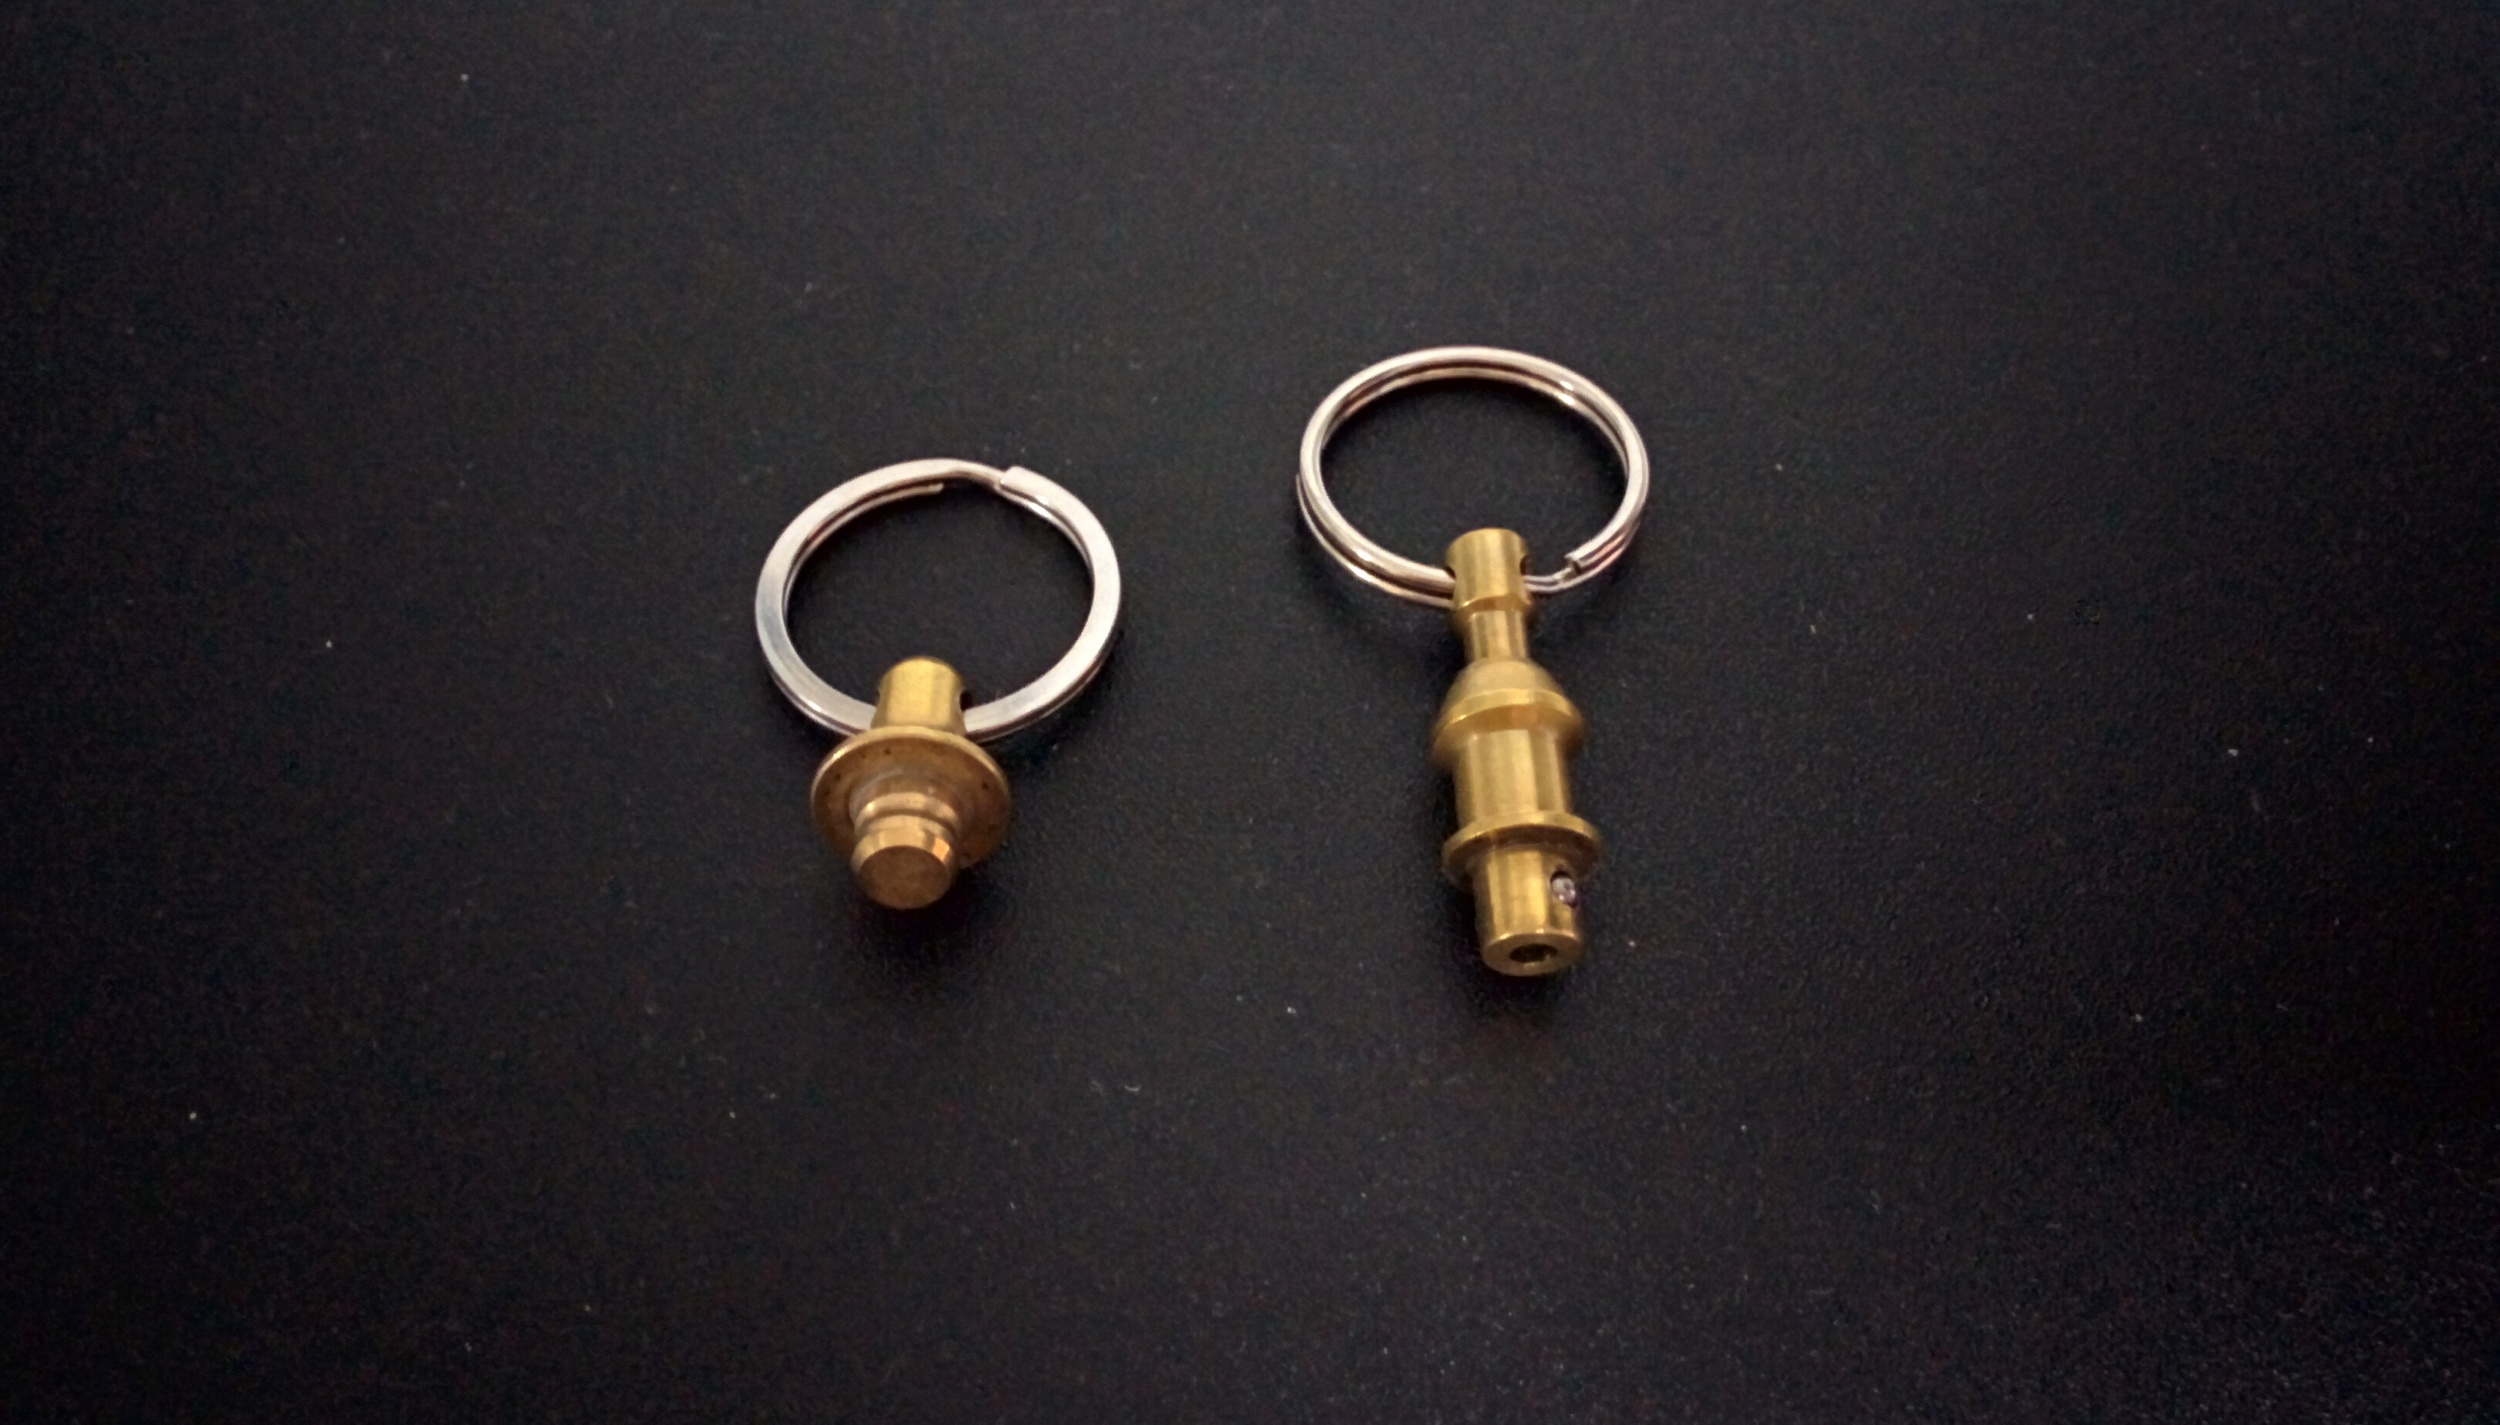
Although there are many compact high-output LED flashlights in the market, the Beta-QR uses a quick release system that has a unique approach to solving my accessibility problem. Ever since the Beta QRv1, the flashlight has implemented their proprietary patent-pending quick release system for you to retrieve the unit efficiently when needed. In my own practice, I have attached the Beta-QR to an S-Biner so that I can transfer the device from one place to another easily. Personally, I prefer the version 2 quick release system as it is much more sturdy and I have never once encountered an instance where the unit released accidentally.

First picture: Beta-QR version 1 (bottom) and 2 (top)
Second Picture: Close up of the quick release mechanism, left (version 2) and right (version 1)

An unexpected feature that I loved about this device is its "limited" ON mode function. Unlike most flashlights that provide many different modes of operations, for example, ON (DIM), ON (Bright), ON (Strobe) and ON (SOS CODE), I would favour a simple flashlight with just ON and OFF function. I understand that there are practical uses for the various mode operations, but I feel that these added features are not necessary and will only hinder the ease of use on an EDC flashlight.

My Prometheus Beta-QR attached to a S-biner 

I am really pleased with the Prometheus Beta-QR as it has provided me with the convenience that most other products were not able to. Although it is a bit pricey at $59.00 USD, the metal chassis of the flashlight is definitely rugged enough to last through years of torture before it fails on you. 

YWFU

USB Extender - A surprisingly useful tech

USB cables are one of the most commonly used items in the computing world, regardless of whether you are an enthusiast or an IT average joe. You most likely have lost count on the number of USB cables you have owned. USB cables are ubiquitous as they provide essential features such as file / data transfer or device charge up. However, it is quite shocking that for a technology that has so much control towards your digital lifestyle, not many understand the specifications and limitations of this protocol. I myself have been bitten once in my own assumption towards this particular technology.

Similar to any data protocol, there is always a limitation in transmitting range, meaning there is always a maximum length you can run a cable before you lose signal integrity. In this case, the cable length should be 5m max for high-speed transfer and 3m for low-speed transfer.

You might wonder why there are USB cables more than 5m available in the market if the maximum length of USB cable is rated at 5m. There are even comments online saying that these cables work perfectly. I used to buy USB cables that are more than 5m for my recording / production works, mainly to punch in MIDI data into Apple's Logic Pro for sample triggering or instrument emulations. Using a USB cable for such applications is not uncommon, as this eliminates the need for a physical audio interface to connect the electronic instrument (e.g. Keyboard) to your computer (DAW). I adopted this approach as I often do not have access to a physical audio interface with MIDI I/O in most of my projects, thus using a USB cable to interface instrument with the DAW is a cheap and simple way to go about it.

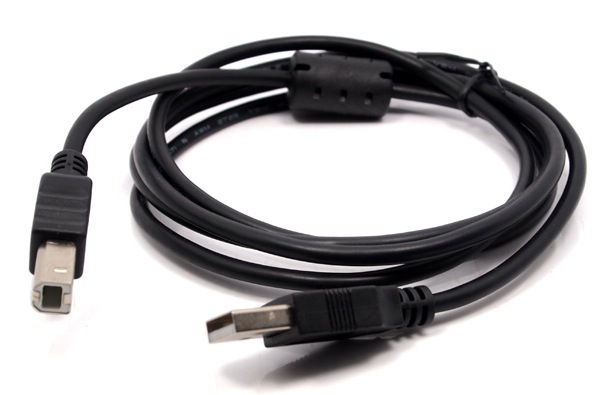
Left: USB Type A to Type B cable, commonly used to interface between host and device (e.g. computer to printer) 
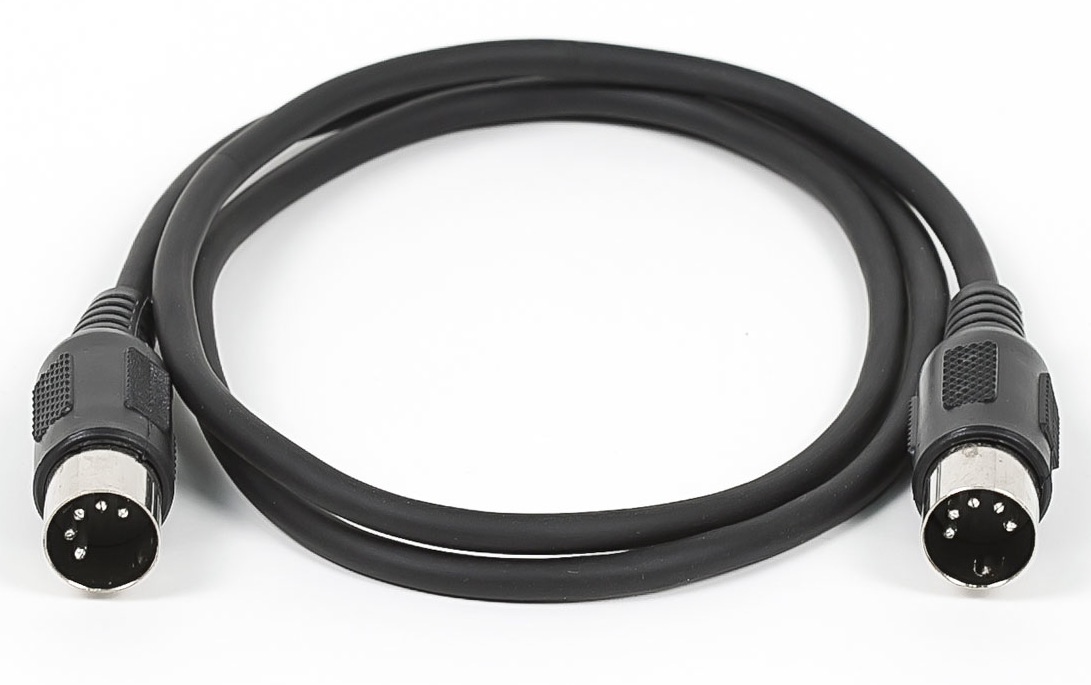
Right: MIDI cable, commonly used to interface between electronic instrument to an audio interface 

This approach worked well for me until I experienced some signal intermittent drop outs in one of my projects. In this particular project, the electronic keyboard was situated on stage, which was around 17m away from the laptop off stage running Pro Tools for recording midi instruments (from USB cable) and multi-track audio (from Dante Virtual Soundcard). Therefore, maintaining the signal transmission integrity is important as the recording will be used for post-production. In addition, some of the instrument sounds used were from Pro Tools and not the keyboard's internal Digital Sound Processing (DSP) unit.

The 20m USB cable was not usable for the show as it was not providing a stable connection between the laptop and keyboard. Therefore, I needed to find an alternative solution instead of investing my money in a cable that is "guaranteed" to work. To my surprise, an active USB extender cable worked perfectly in this scenario. The standard USB extender cable is passive. It does not boost the signal strength in any way to allow stable transmission longer than the rated 5m. In contrast, an active USB extender has circuitry built in to amplify the signal for longer transmission range.

Active USB extender cable

An alternative option to the conductor based active USB extender cable is an optical based USB cable. The fiber optic USB cables from Corning have impressive length options (10m, 15m, 30m and 50m). The rated length for such cables has far exceeded the norm and it provides viable solutions to individuals who require data transfer over long distances.

Corning 3.0ptical Cable

The dull looking active USB extender cable has proved its usefulness and reliability. As compared to the Corning optical USB cable, the price of your standard active USB cable will cost you around $25 at Sim Lim Square. The cable is not only limited to what I have applied but it is surprisingly versatile in many applications. For instance, I have used it to interface a non-networkable photocopying machine to a computer permanently (around 9m apart). You can even take advantage of the USB 3.0 version to transfer files between devices that are far apart from each other.

YWFU