Real-Time vs Offline Bounce - An experiment to find which is better?


Since the introduction of Pro Tools 11, the option of offline bouncing your tracks is available for users to export projects from their workstation. Offline bounce utilises your existing CPU power to speed up the duration of your export (from 1x to 150x), meaning, if you have a project that is 60 minutes (1 hour) long, your file can be bounced out within 24 seconds (150x, fastest possible). This is an astronomical amount of time saved for people who are dealing with TV broadcasting or movie projects where their projects tend to be spanning round the hours range.

Avid Pro Tools DAW software; Credits Avid

Although the ability to offline bounce a project from DAW is not new, many DAWs such as Logic or Reaper have it years ago, the topic of which approach (Real-time vs Offline) yields the best results have still been a very debatable topic. Many of vouched that real-time bounce sounds more superior to its offline counterpart due to possible "glitches". If that is the case, this is especially important for engineers that are involved in music productions, as sonic superiority and fidelity are valued in these projects.

Regardless of the type of exporting methods, the simplest way to check whether is there a difference between both exports sonically, you can always re-import both files (real-time and offline bounce) into your DAW and invert the phase on one of the files and see whether they would cancel out each other. This simple procedure has some limitation, it does not take into account on plug-ins that involve random oscillations (e.g. LFO) or phasing where the audio signal will get modulated with different time delay, which can be very difficult to get a one to one comparison.

Unless you are using outboard gears such as an effect processor or levelling amplifier on your mixes, it is not viable for you to export your file using offline bounce. This is due to the fact that your outboard gears are not part of your CPU resources and require real-time audio signals to be injected through for it to be processed adequately.

Outboard Gears rack at VintageKing LA; Credits Warren Huart

Offline bounce puts the existing CPU resources to use when exporting out files, thus, it is important for users to monitor their CPU resources headroom when going through this process. Different plug-ins / virtual instruments will have different loads onto your CPU usage and a session that runs smoothly when will not necessarily equate to a stable offline bounce (if there is a sudden drop in CPU resources, due to the usage of other software applications). If all these parameters are being monitored and enough buffers are given for this application, the offline bounce is as stable as it can be.

System usage to monitor CPU resources on Pro Tools

Plug-in formats such as RTAS, TDM or AAX will work with offline bounce. RTAS and AAX native plug-ins utilise computer-processing power while TDM and AAX DSP plug-ins utilise on external processing engine to operate. This main difference allows AAX DSP or TDM user to monitor the processing usage clearly as all the plug-ins are processed in the external engine. On the other hand, AAX native or RTAS plug-ins uses internal CPU power, which is often shared among other operating processes (e.g. operating system, web browser).

Two samples of the same song are available below for you to listen and choose which sample (A or B) is being bounced offline. I hope you can give it a try and comment which sample you prefer best. Maybe we can find something significant enough to choose which approach yields better results.

Sample A

No distribution for profit. Credit when sharing.

Sample B

No distribution for profit. Credit when sharing.

YWFU

Daiso items that are surprisingly useful for audio engineers

Ah Daiso... a marketplace that furnished itself with a multitude of products—from stationery to dining ware to even handy tools. This powerhouse store has packed its arsenals to ensure that there is something for everybody to purchase in store. On top of the array of products it sells, the most attractive reason for any consumer to spend their time in the store would be the $2 SGD price tag on every single item.

Daiso Storefront @ Citysquare mall, Credits Daiso

In this post, we will take a look at some of the items bought from Daiso that is surprisingly useful for audio engineers or technical production crews. The products featured here are not sponsored and I have been using it for a respectable amount of time (min. 6 months). Some have even survived the years on the road, working on the countless number of shows we have participated in. These items were all bought from Daiso and it was not necessarily meant for production work but with a little bit of creativity, they turn out to be exceptionally applicable.

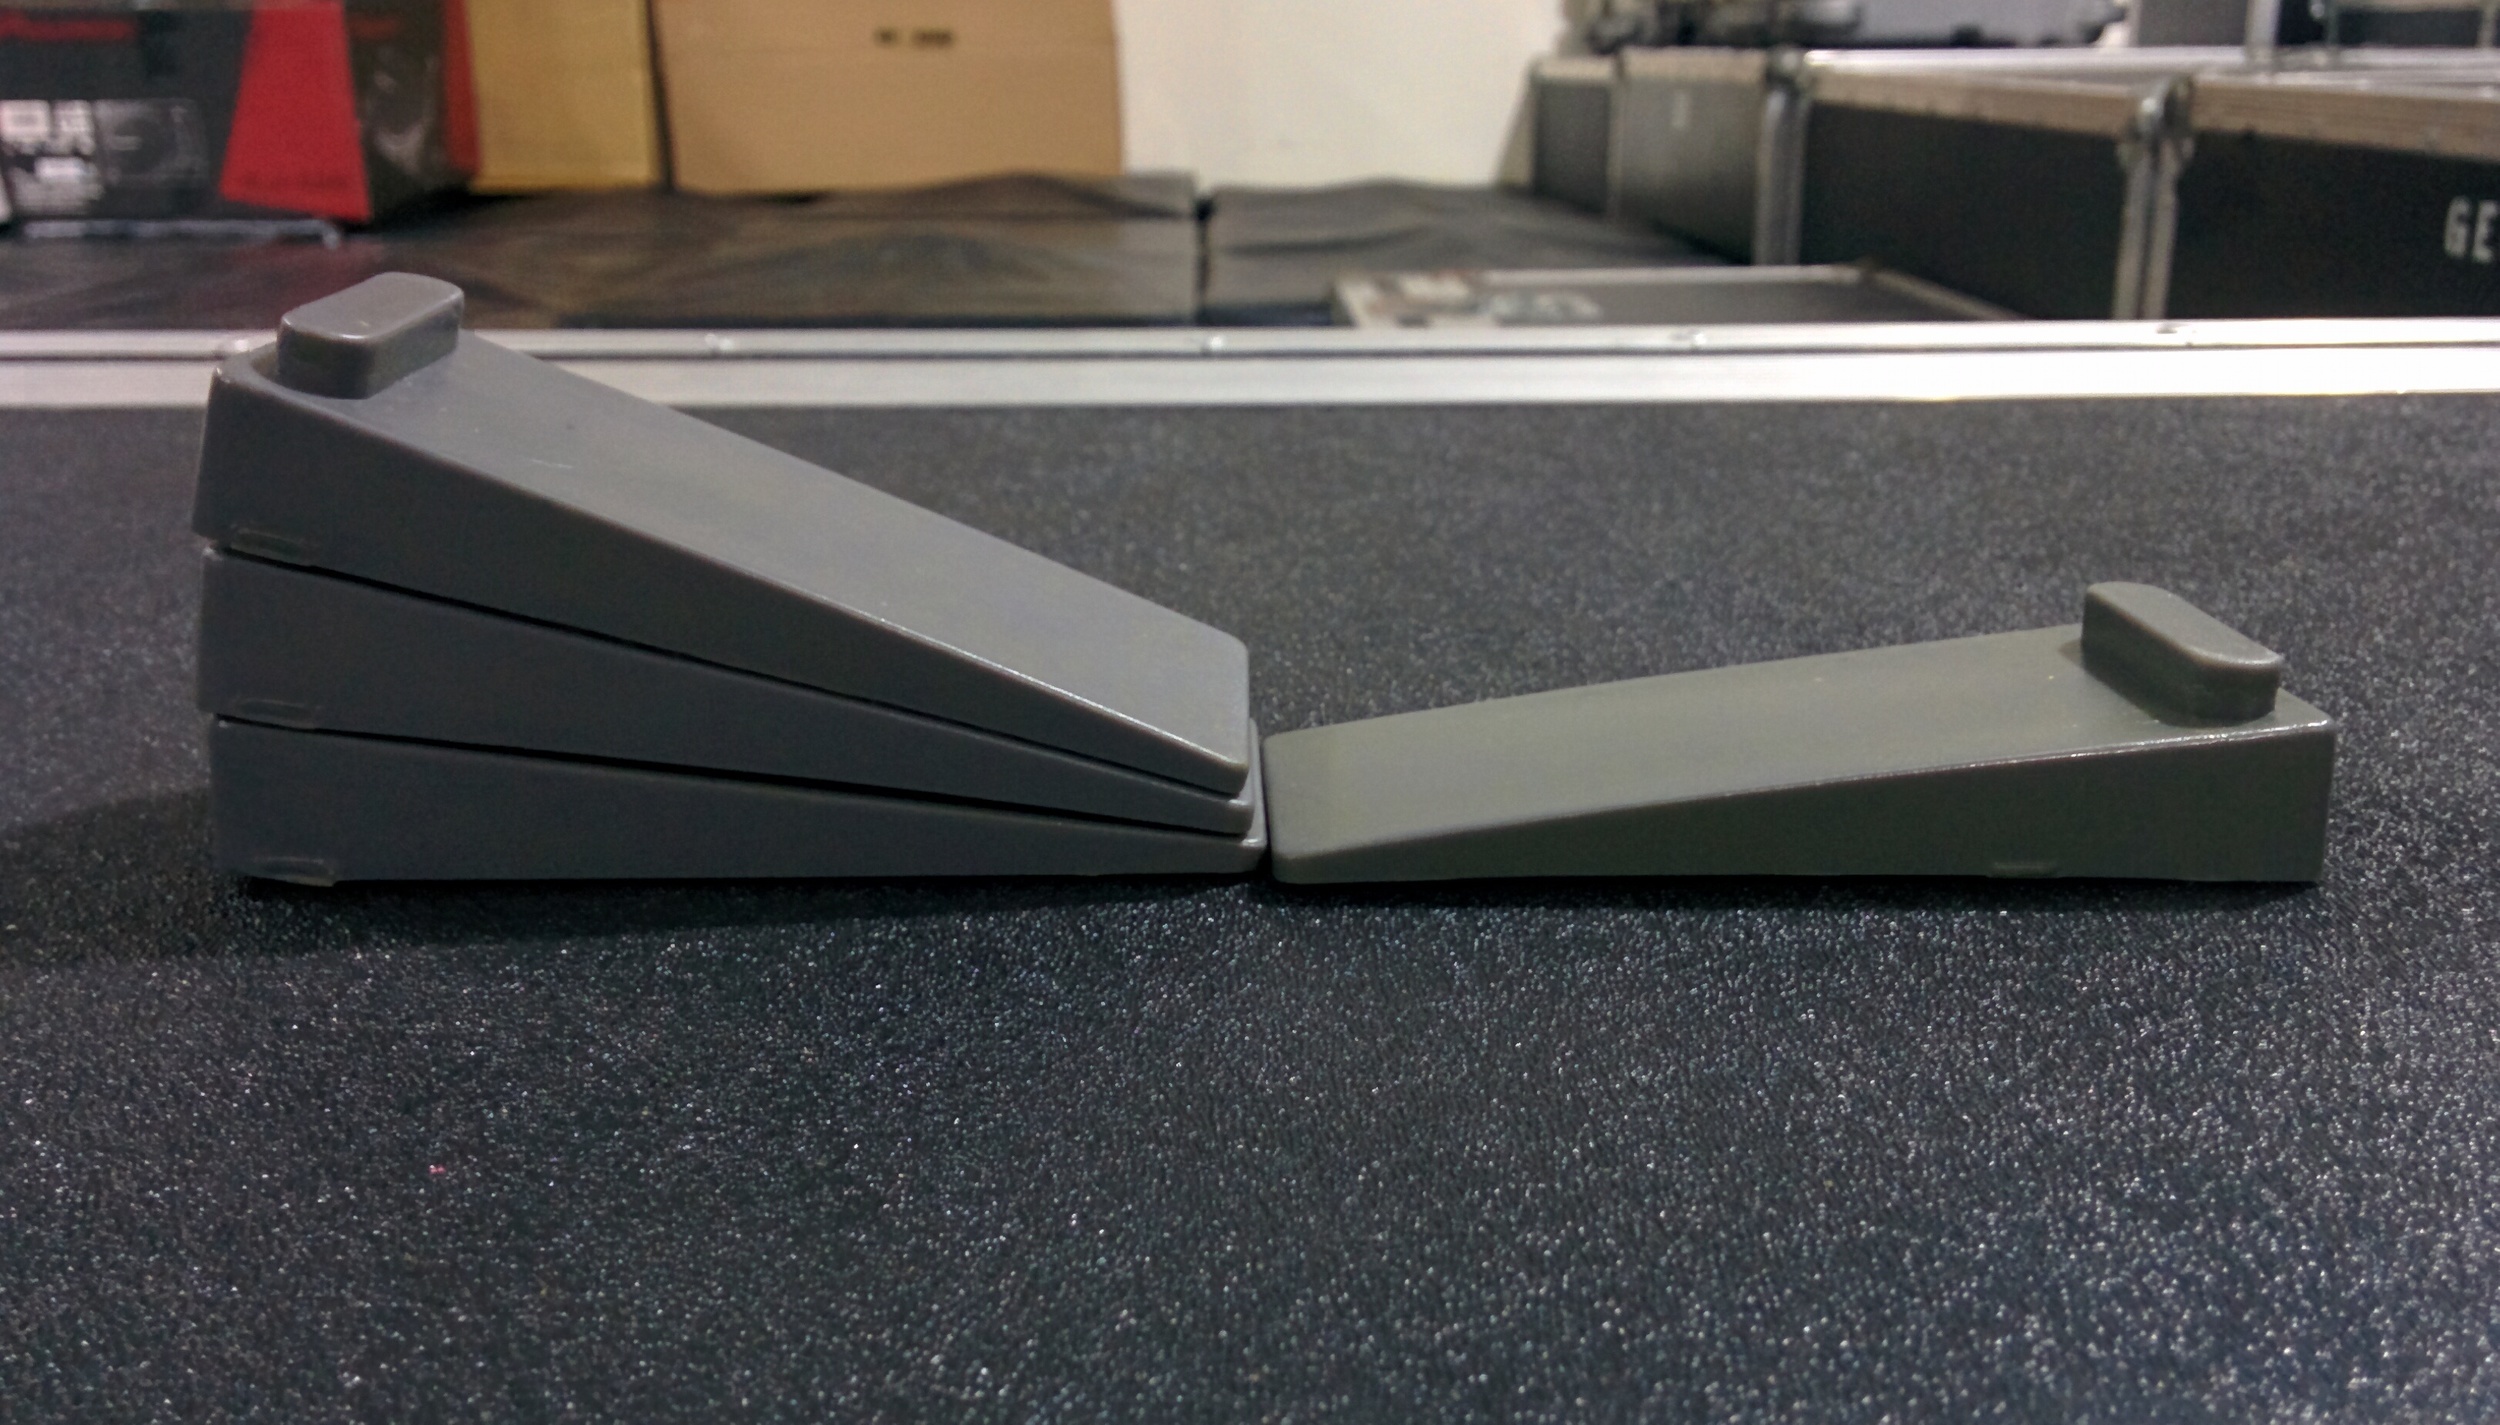
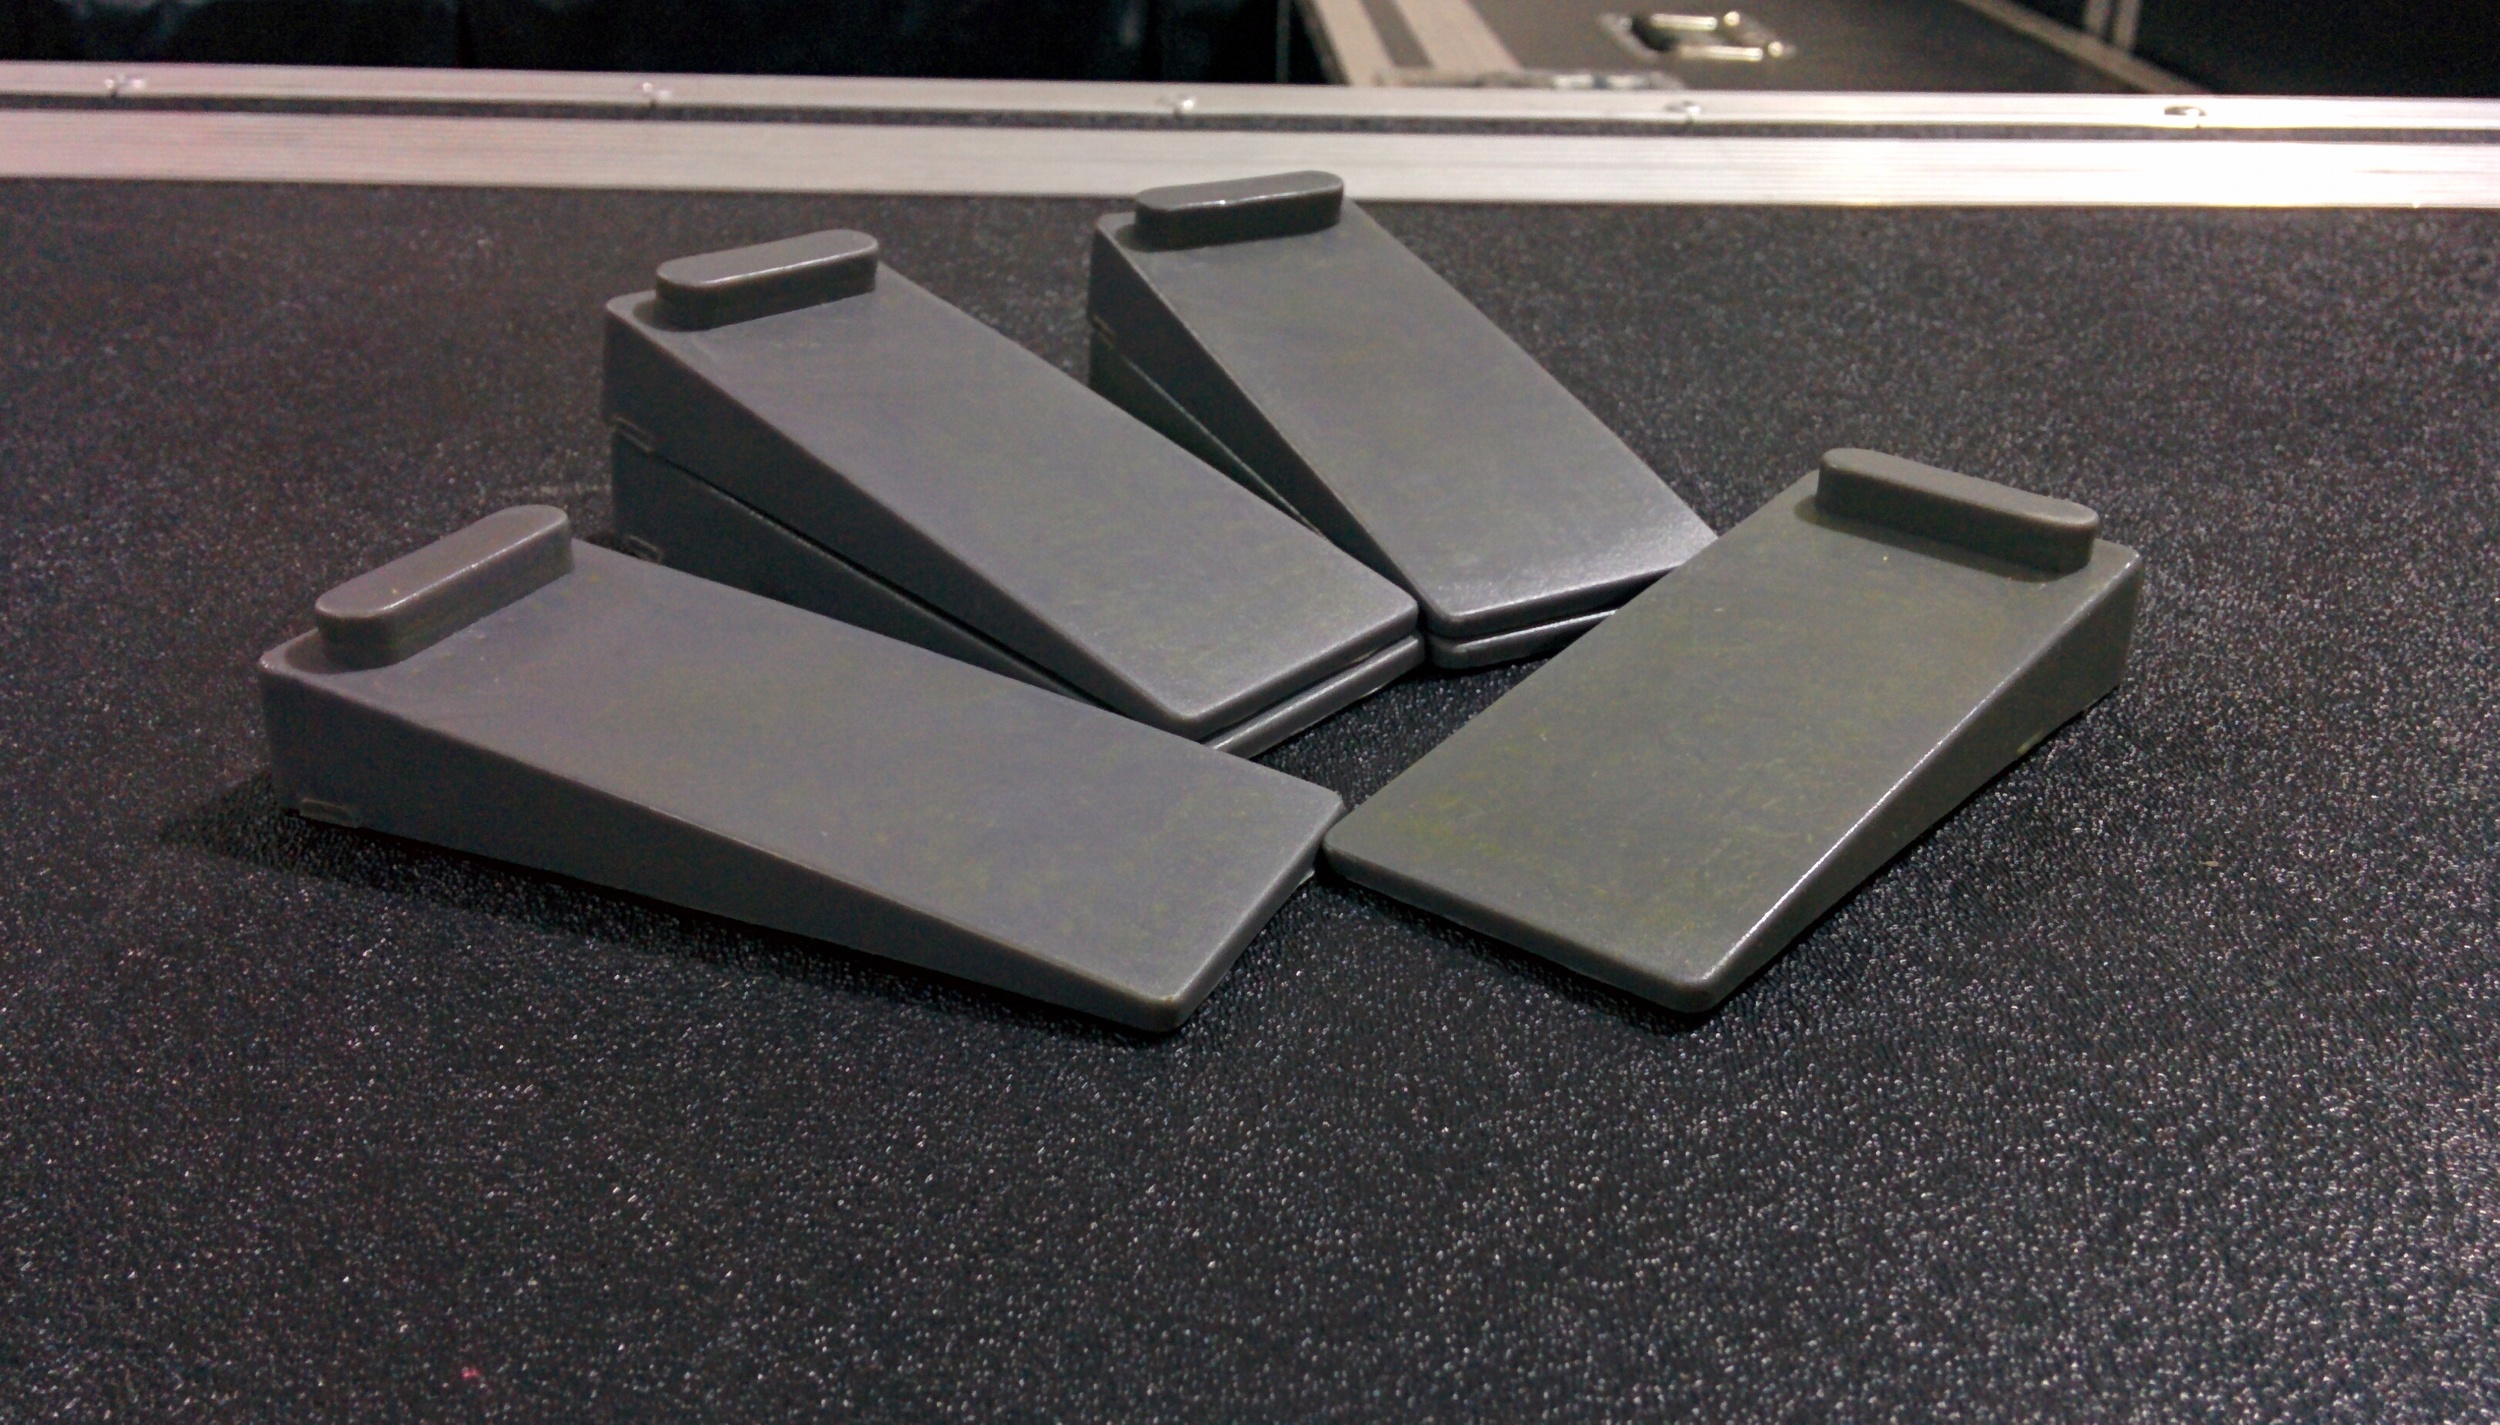
Daiso Modular Doorstopper

One might ask what else can a doorstopper do? In my own experience, the Daiso modular doorstopper is very well designed to be integrated with front fields speakers. This is more aesthetically pleasing than using gaff or electrical (insulation) tapes to alleviate the speaker. The modular doorstopper provides more "control" in the tilt degree of your speaker. Unlike any generic doorstopper, the modular characteristic allows the user to "customise" the height of the doorstopper to suit the speaker dispersion towards the designated area. The rubberised locking mechanism on the doorstopper has proven itself to be rugged enough for heavy weight load (the max. I have tried was 29kg). The modular doorstopper comes in a pack of 2 and can be found in the home section of the store.

Daiso Modular Doorstopper (Grey)

Modular Doorstopper in action

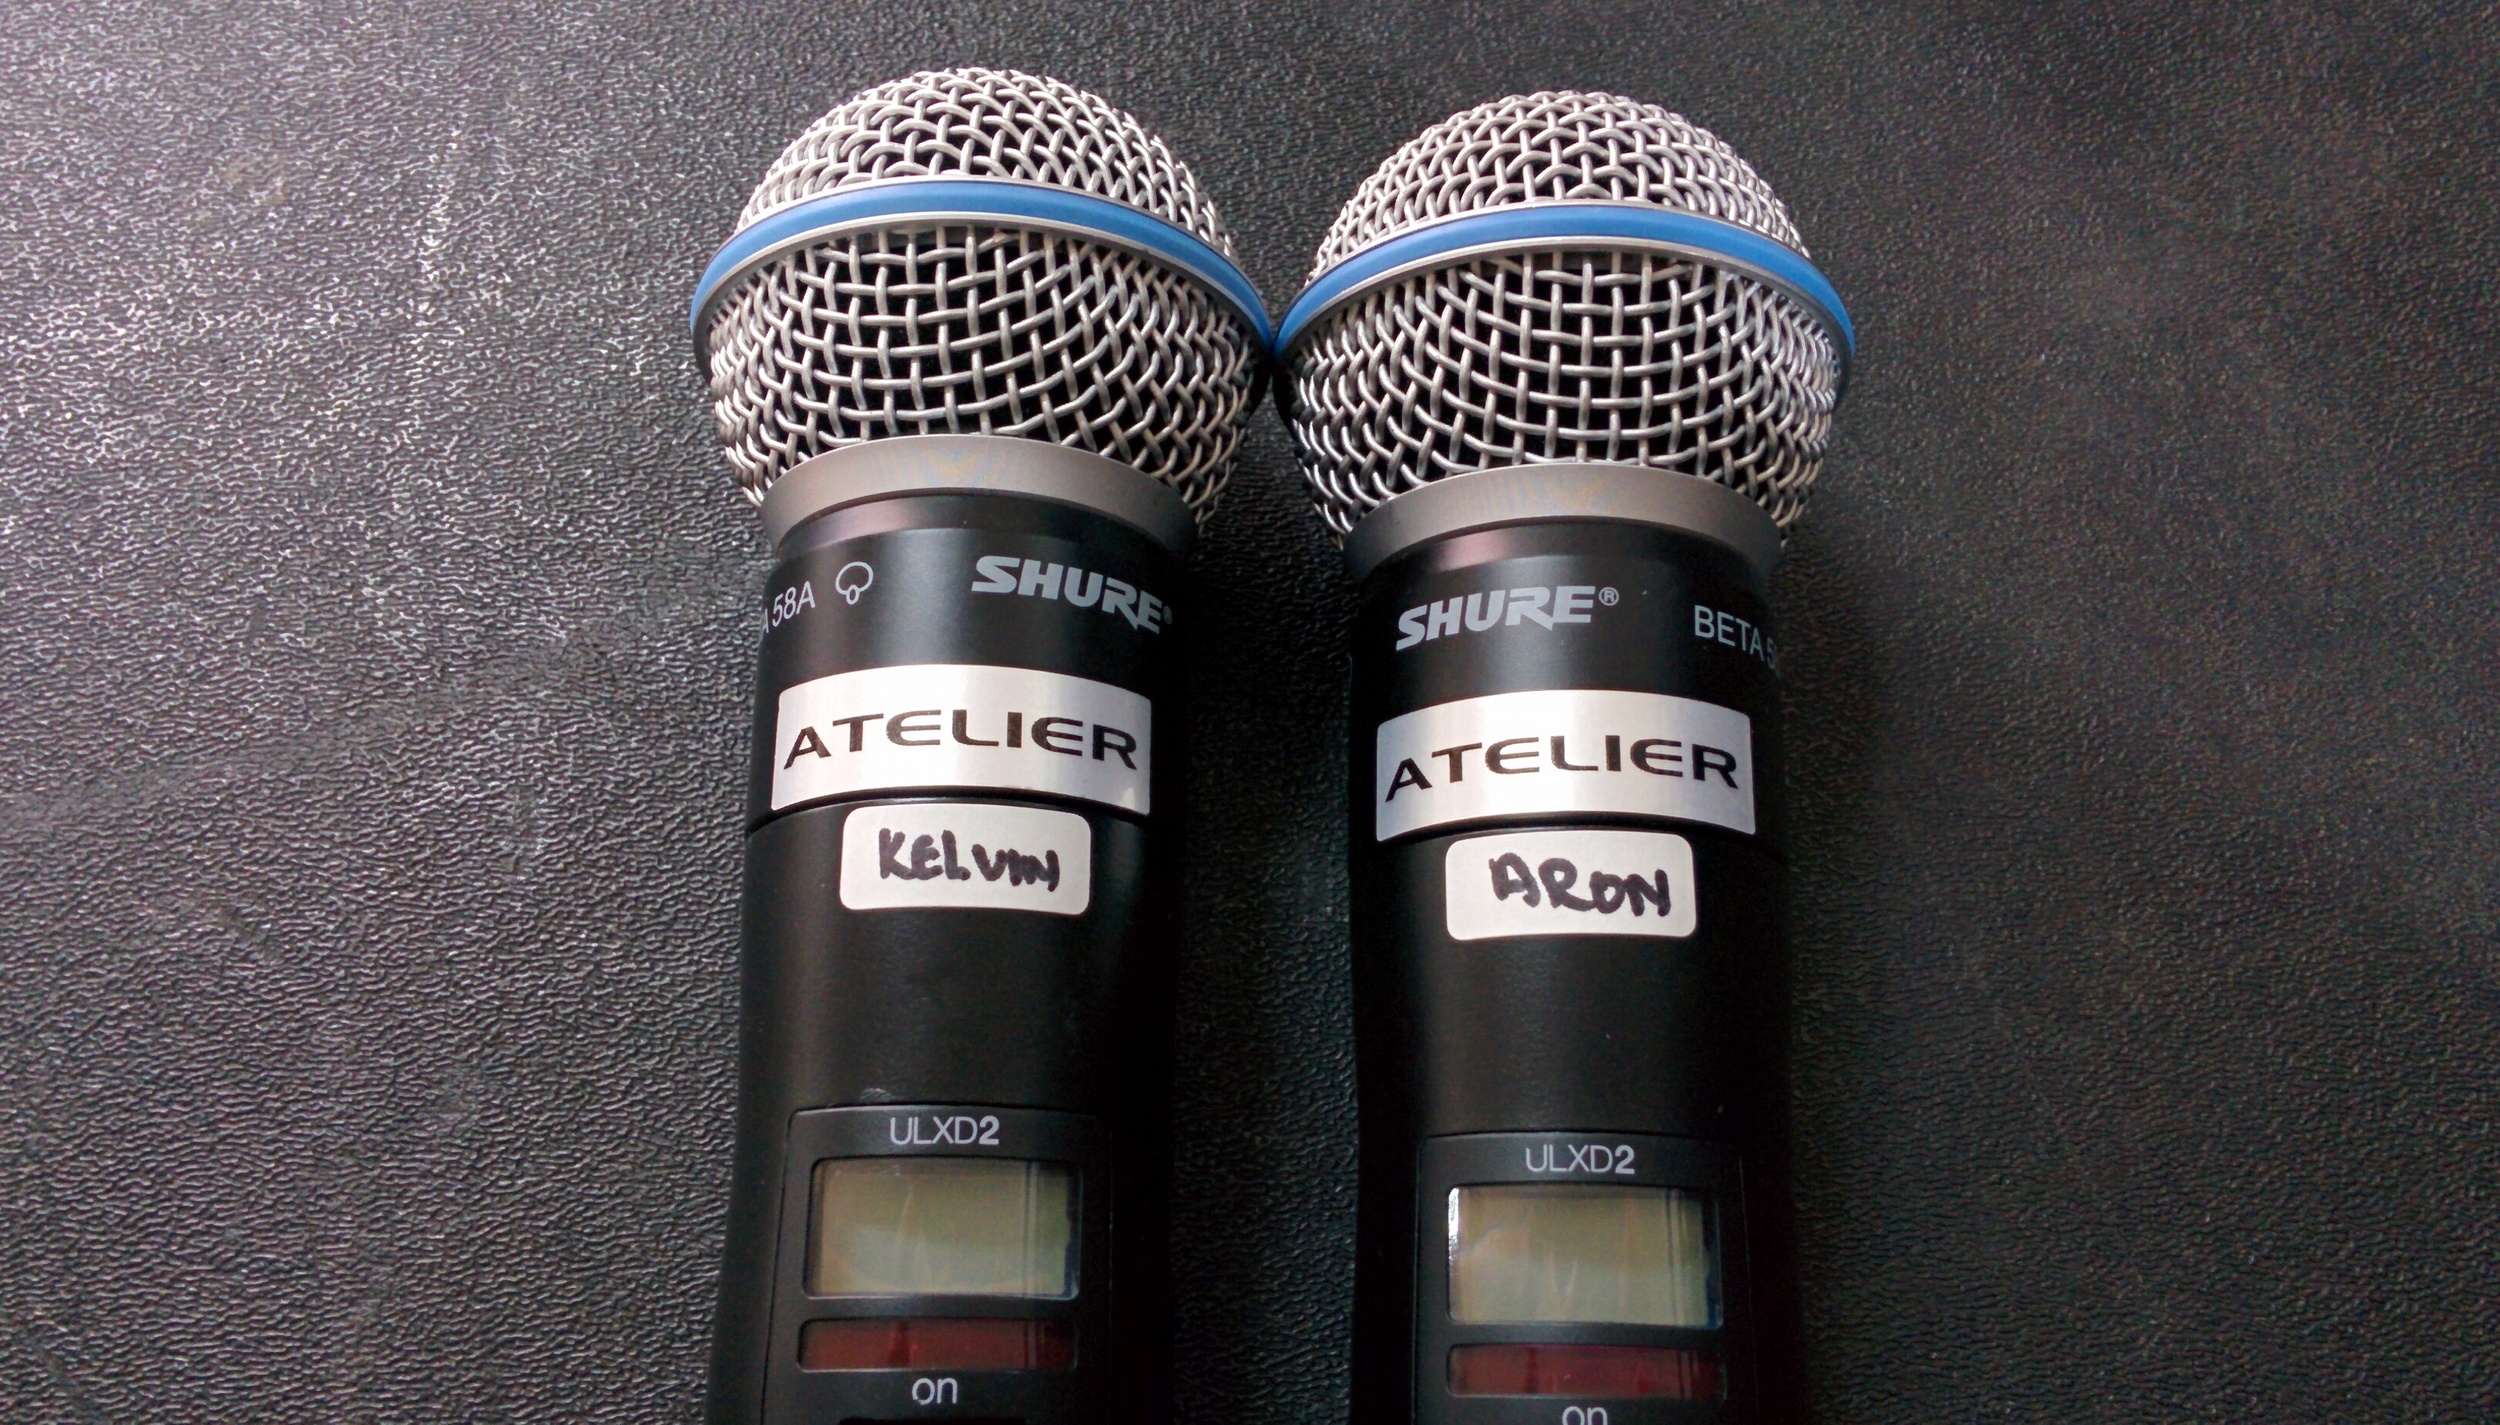
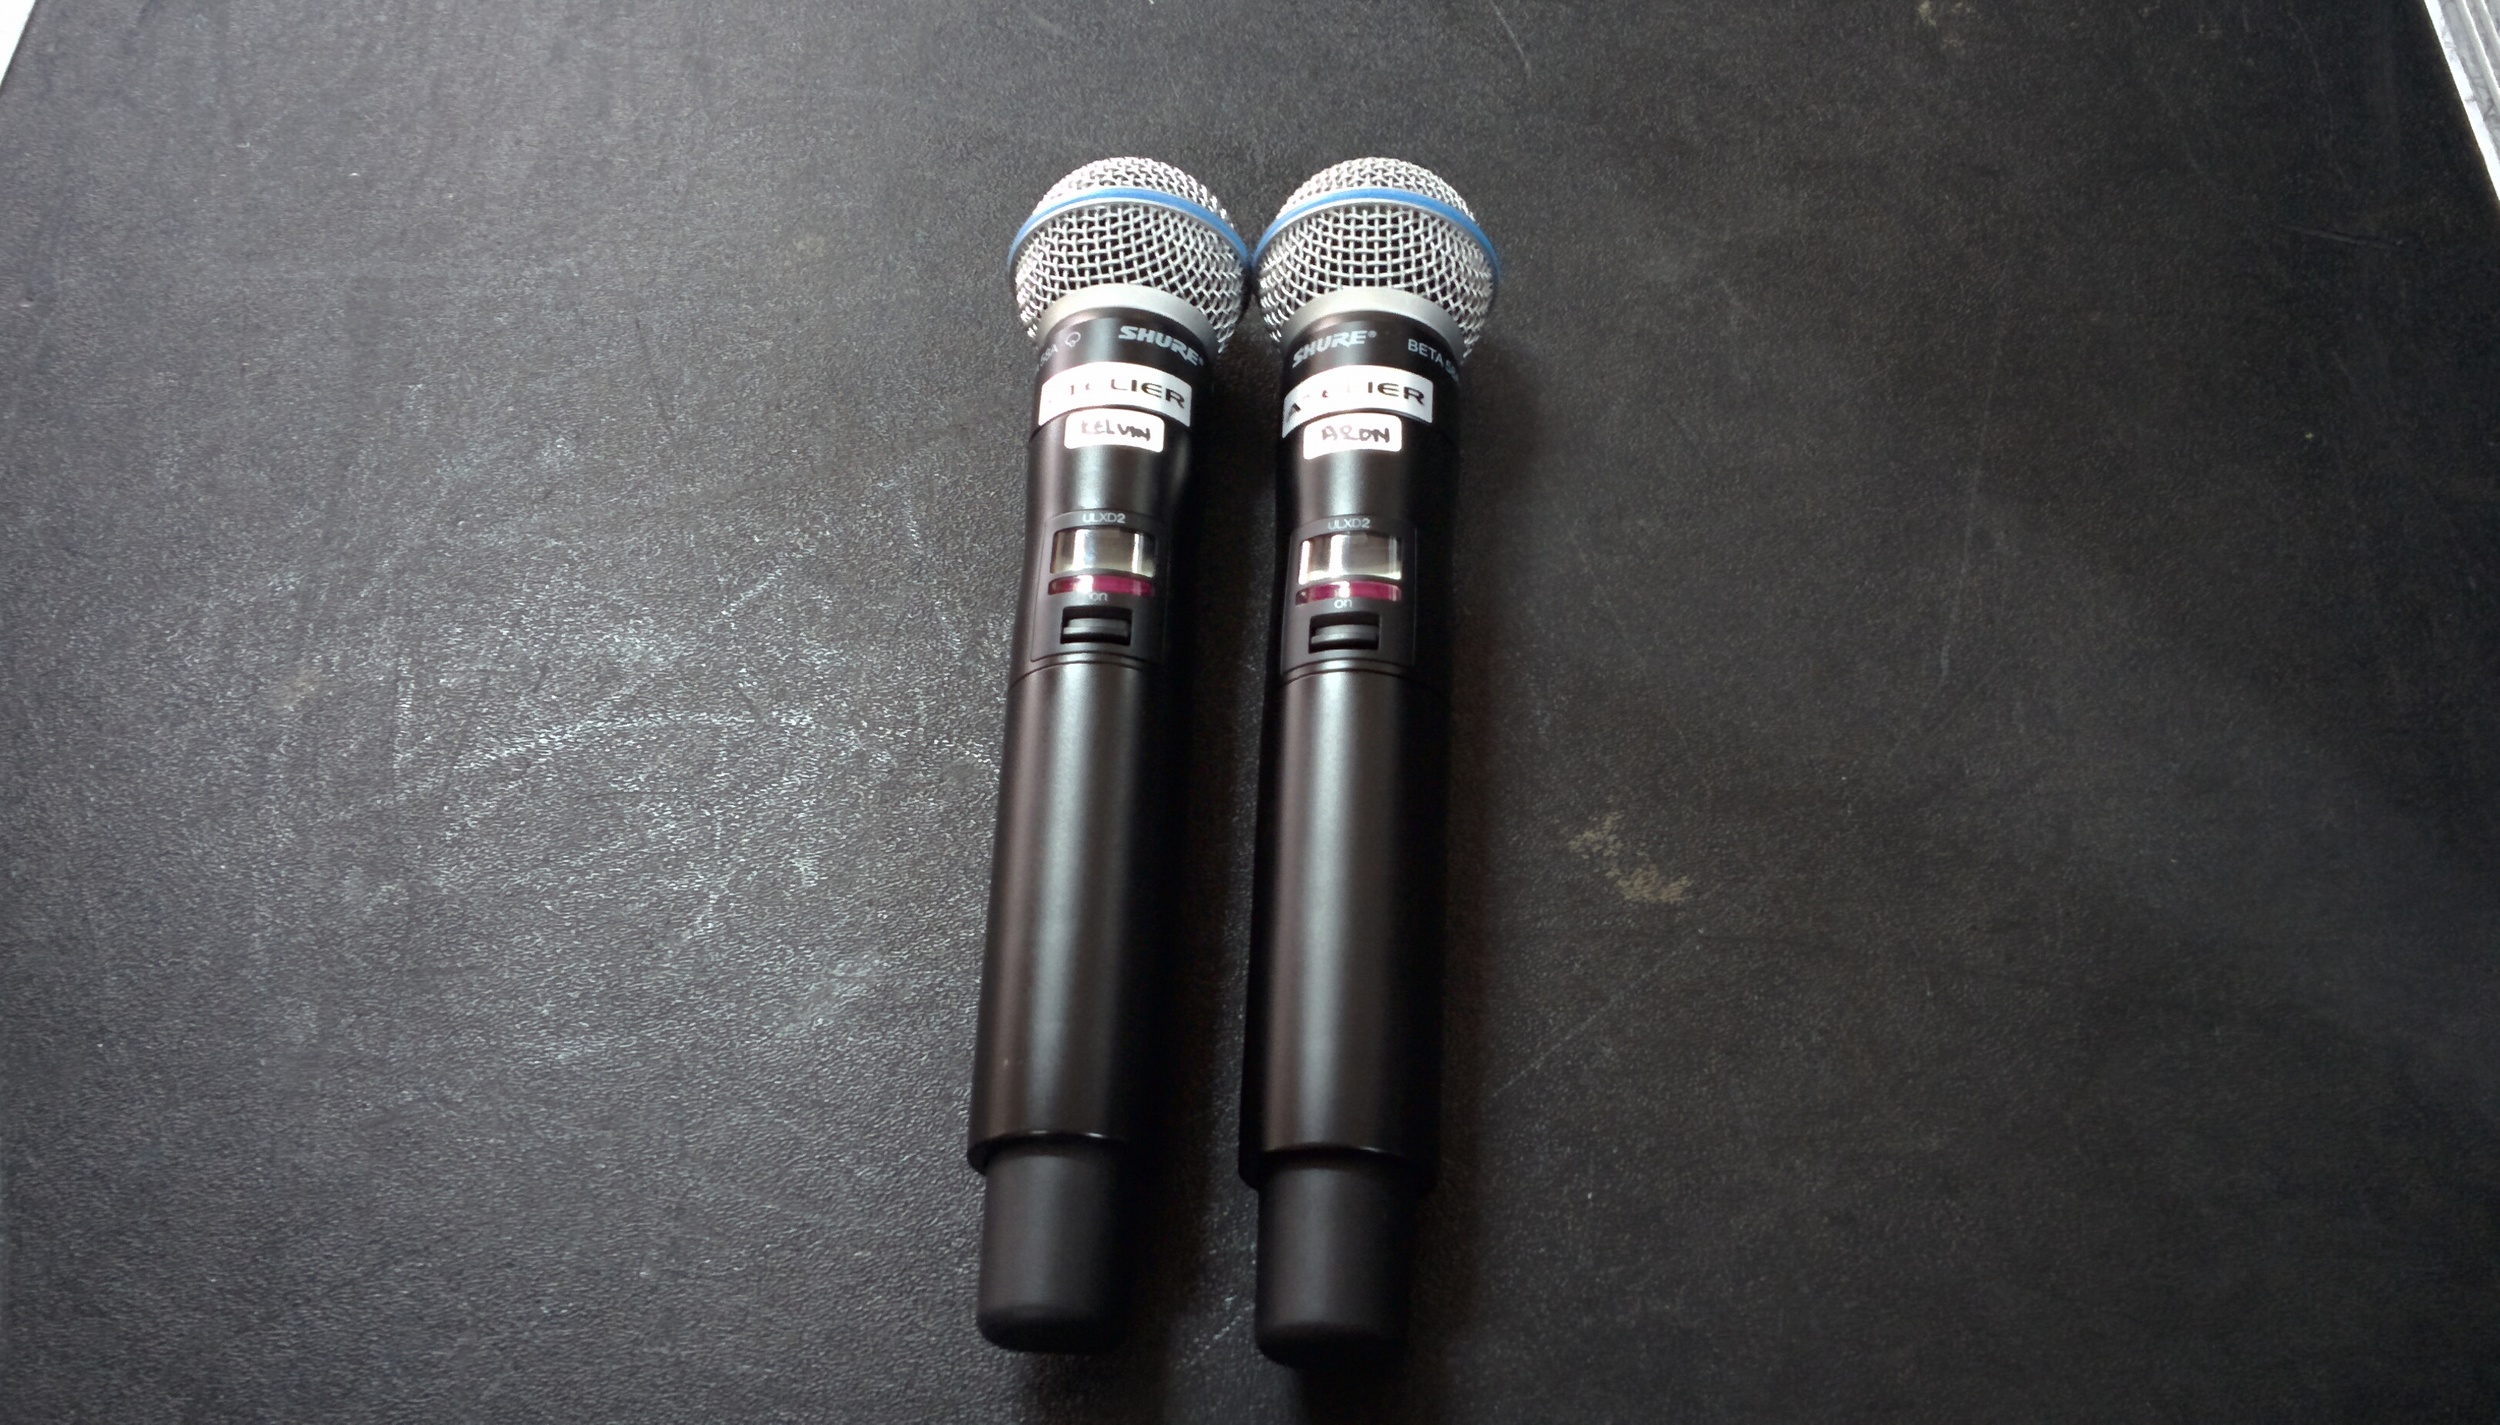
Daiso white label stickers

Although this is a very common item that many of my friends / colleagues use, I still get asked a lot about where I get them. Before I found out that Daiso sells this label sticker in smaller quantities, I used to purchase something similar from Alibaba with a minimum order of 2000 sheets (35 stickers per sheet) and that will probably last you years to come (please don't judge me). The good thing about this is that these labelling stickers come in different sizes and you can use it for anything you desire. Depending on the sizes, the stickers will come in a pack of 800 pieces (small size) to 350 pieces (medium size) to 25 pieces (large size) and can be found in the stationery section of the store.

Daiso Label Sticker (Tack Seal)

Labelling mic, clean and neat.

Labelling stick at inconspicuous area

Daiso Magnetic Sheet (A4 size)

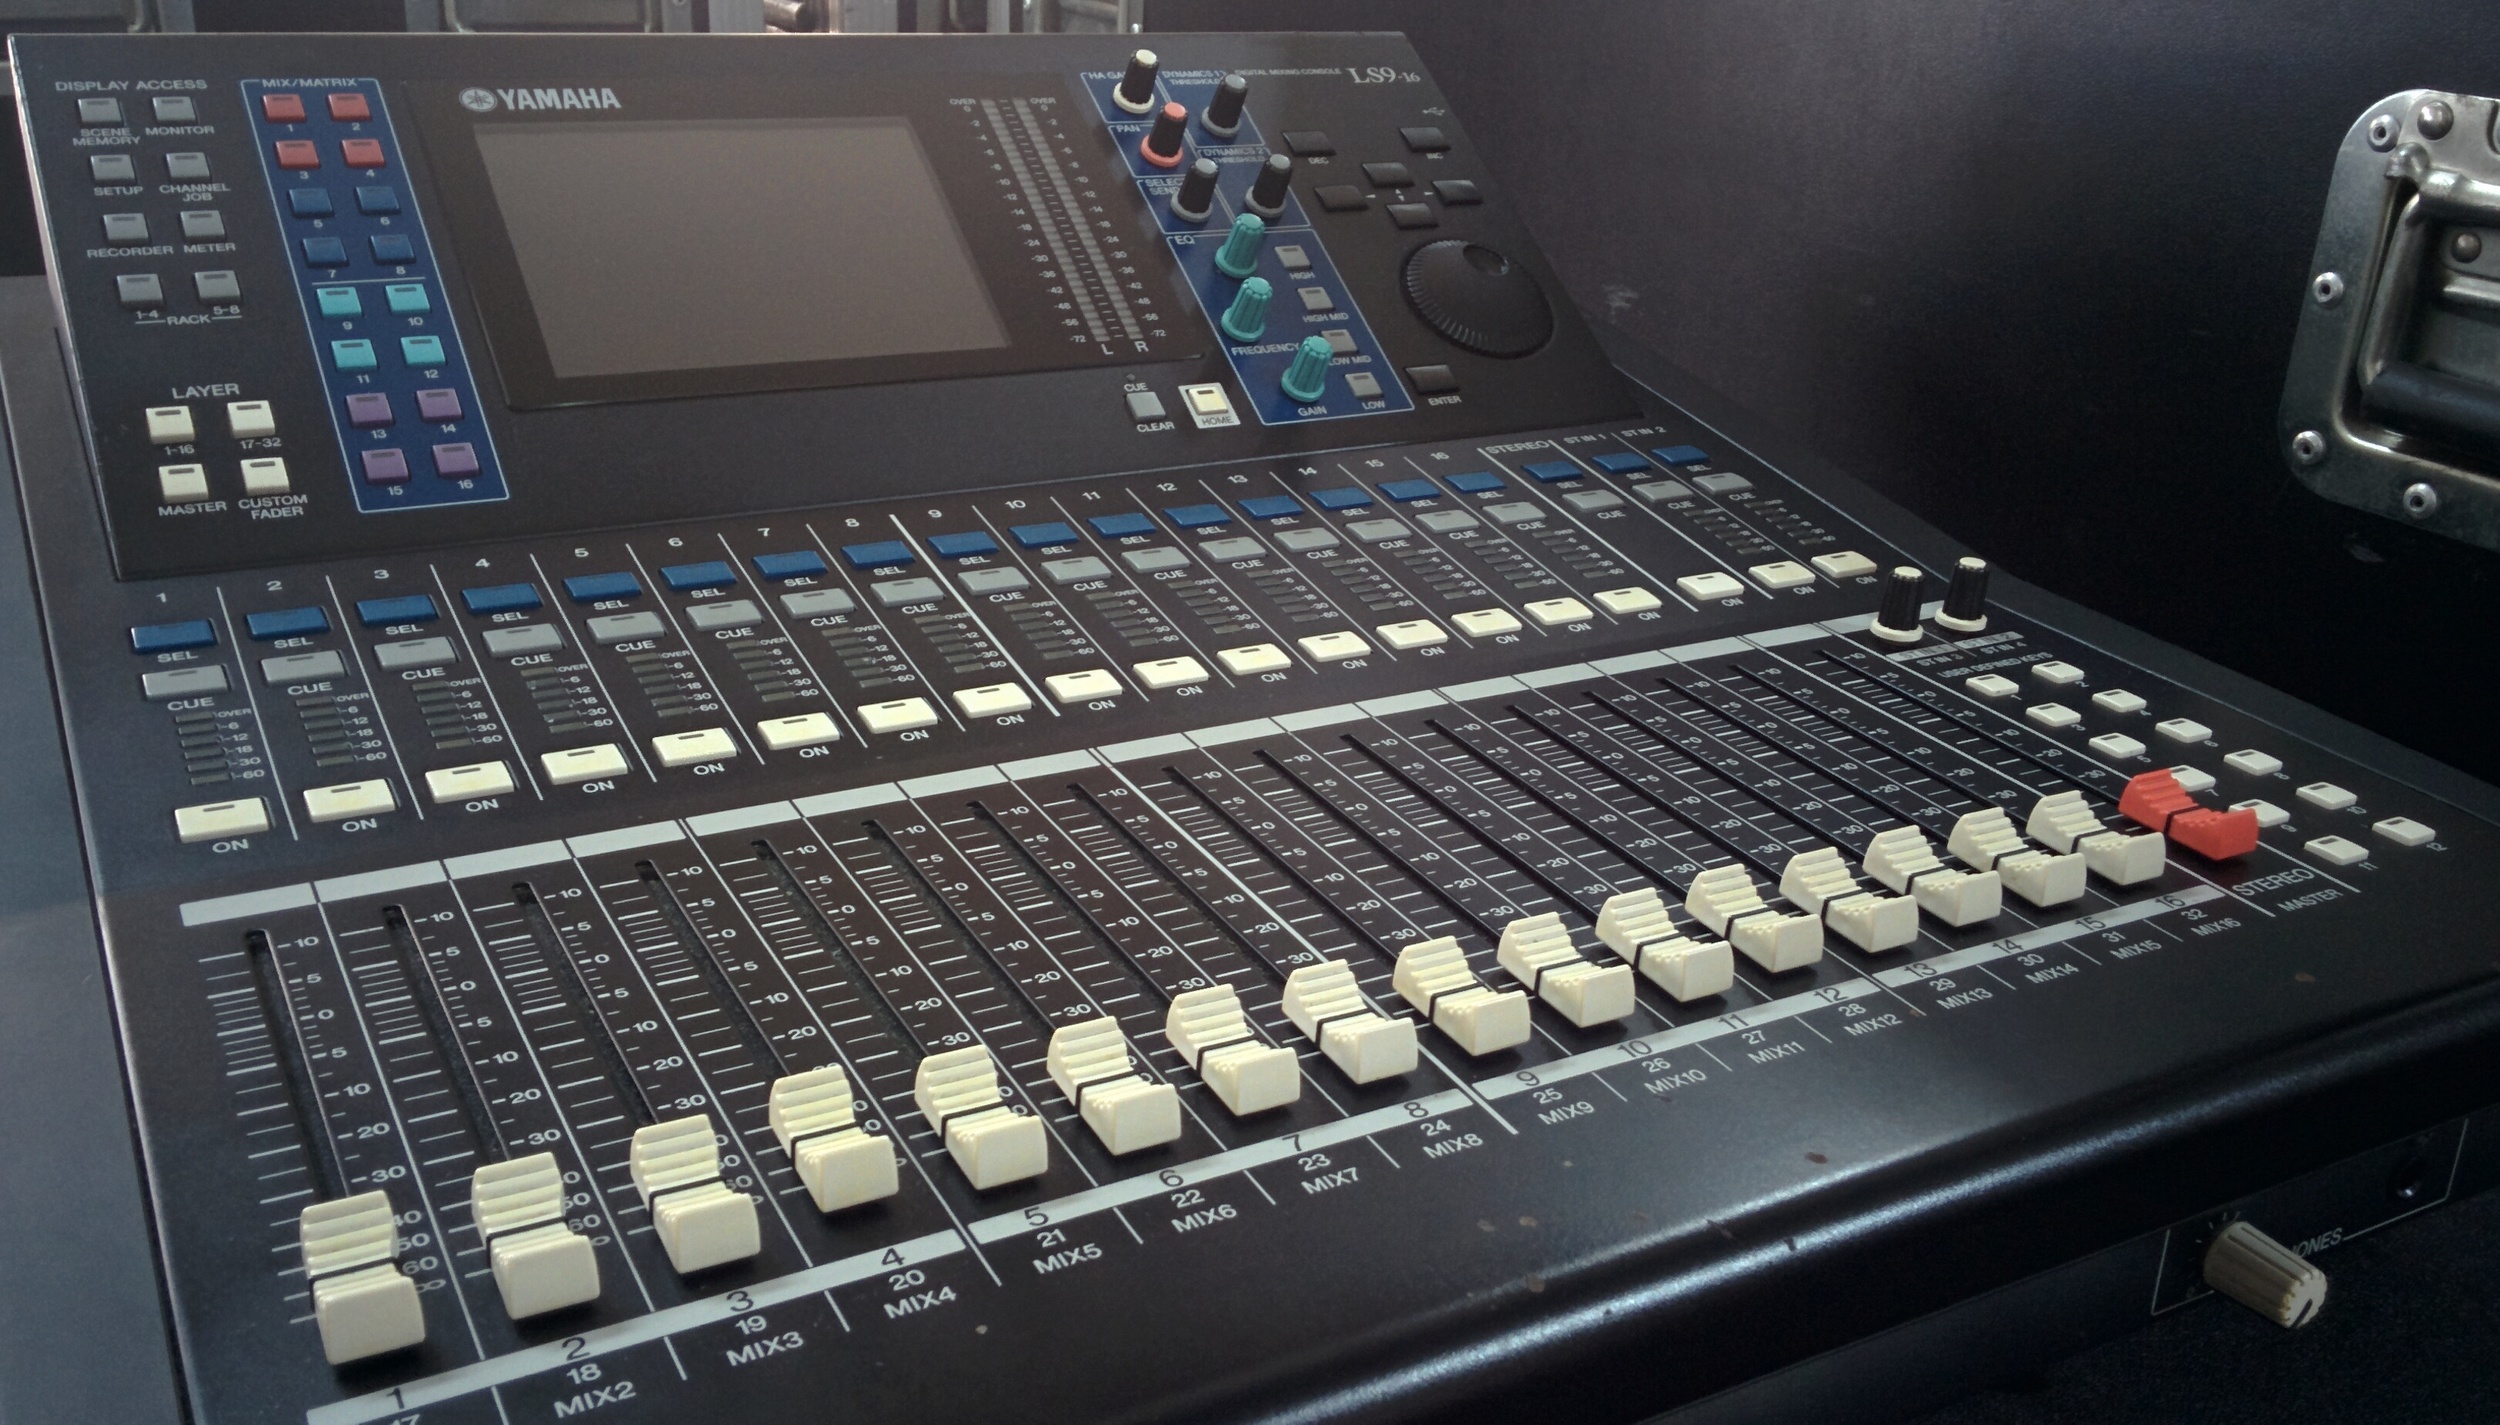
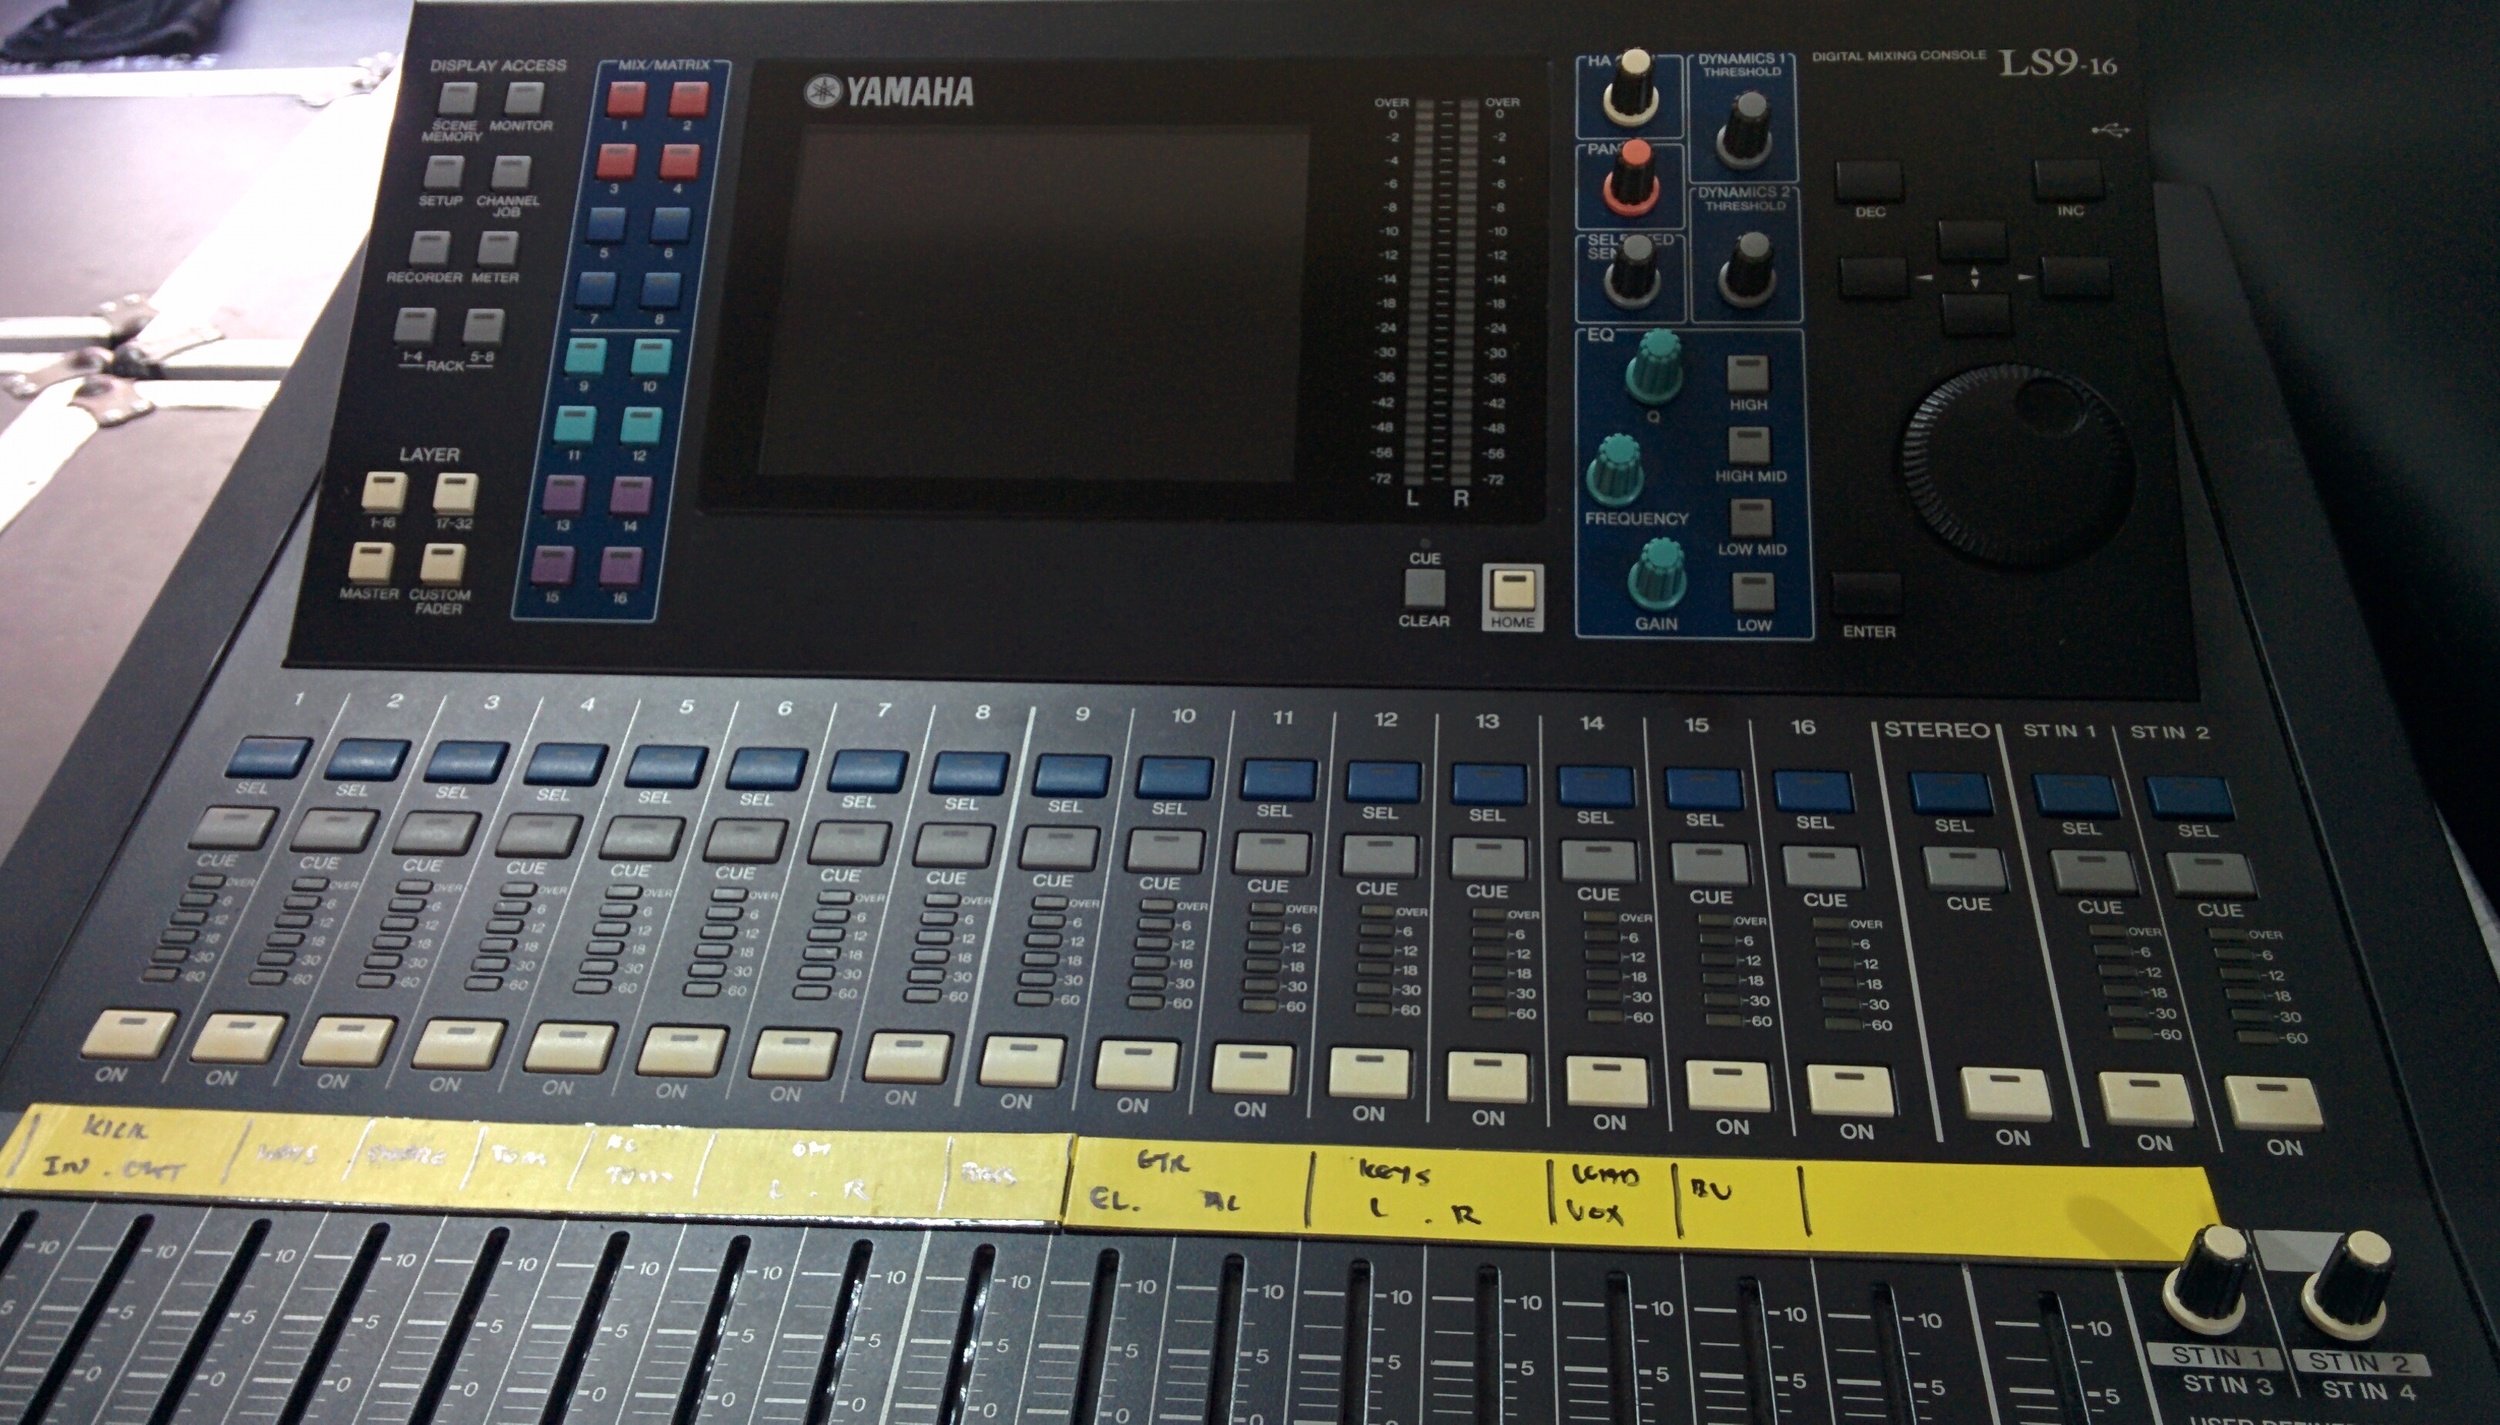
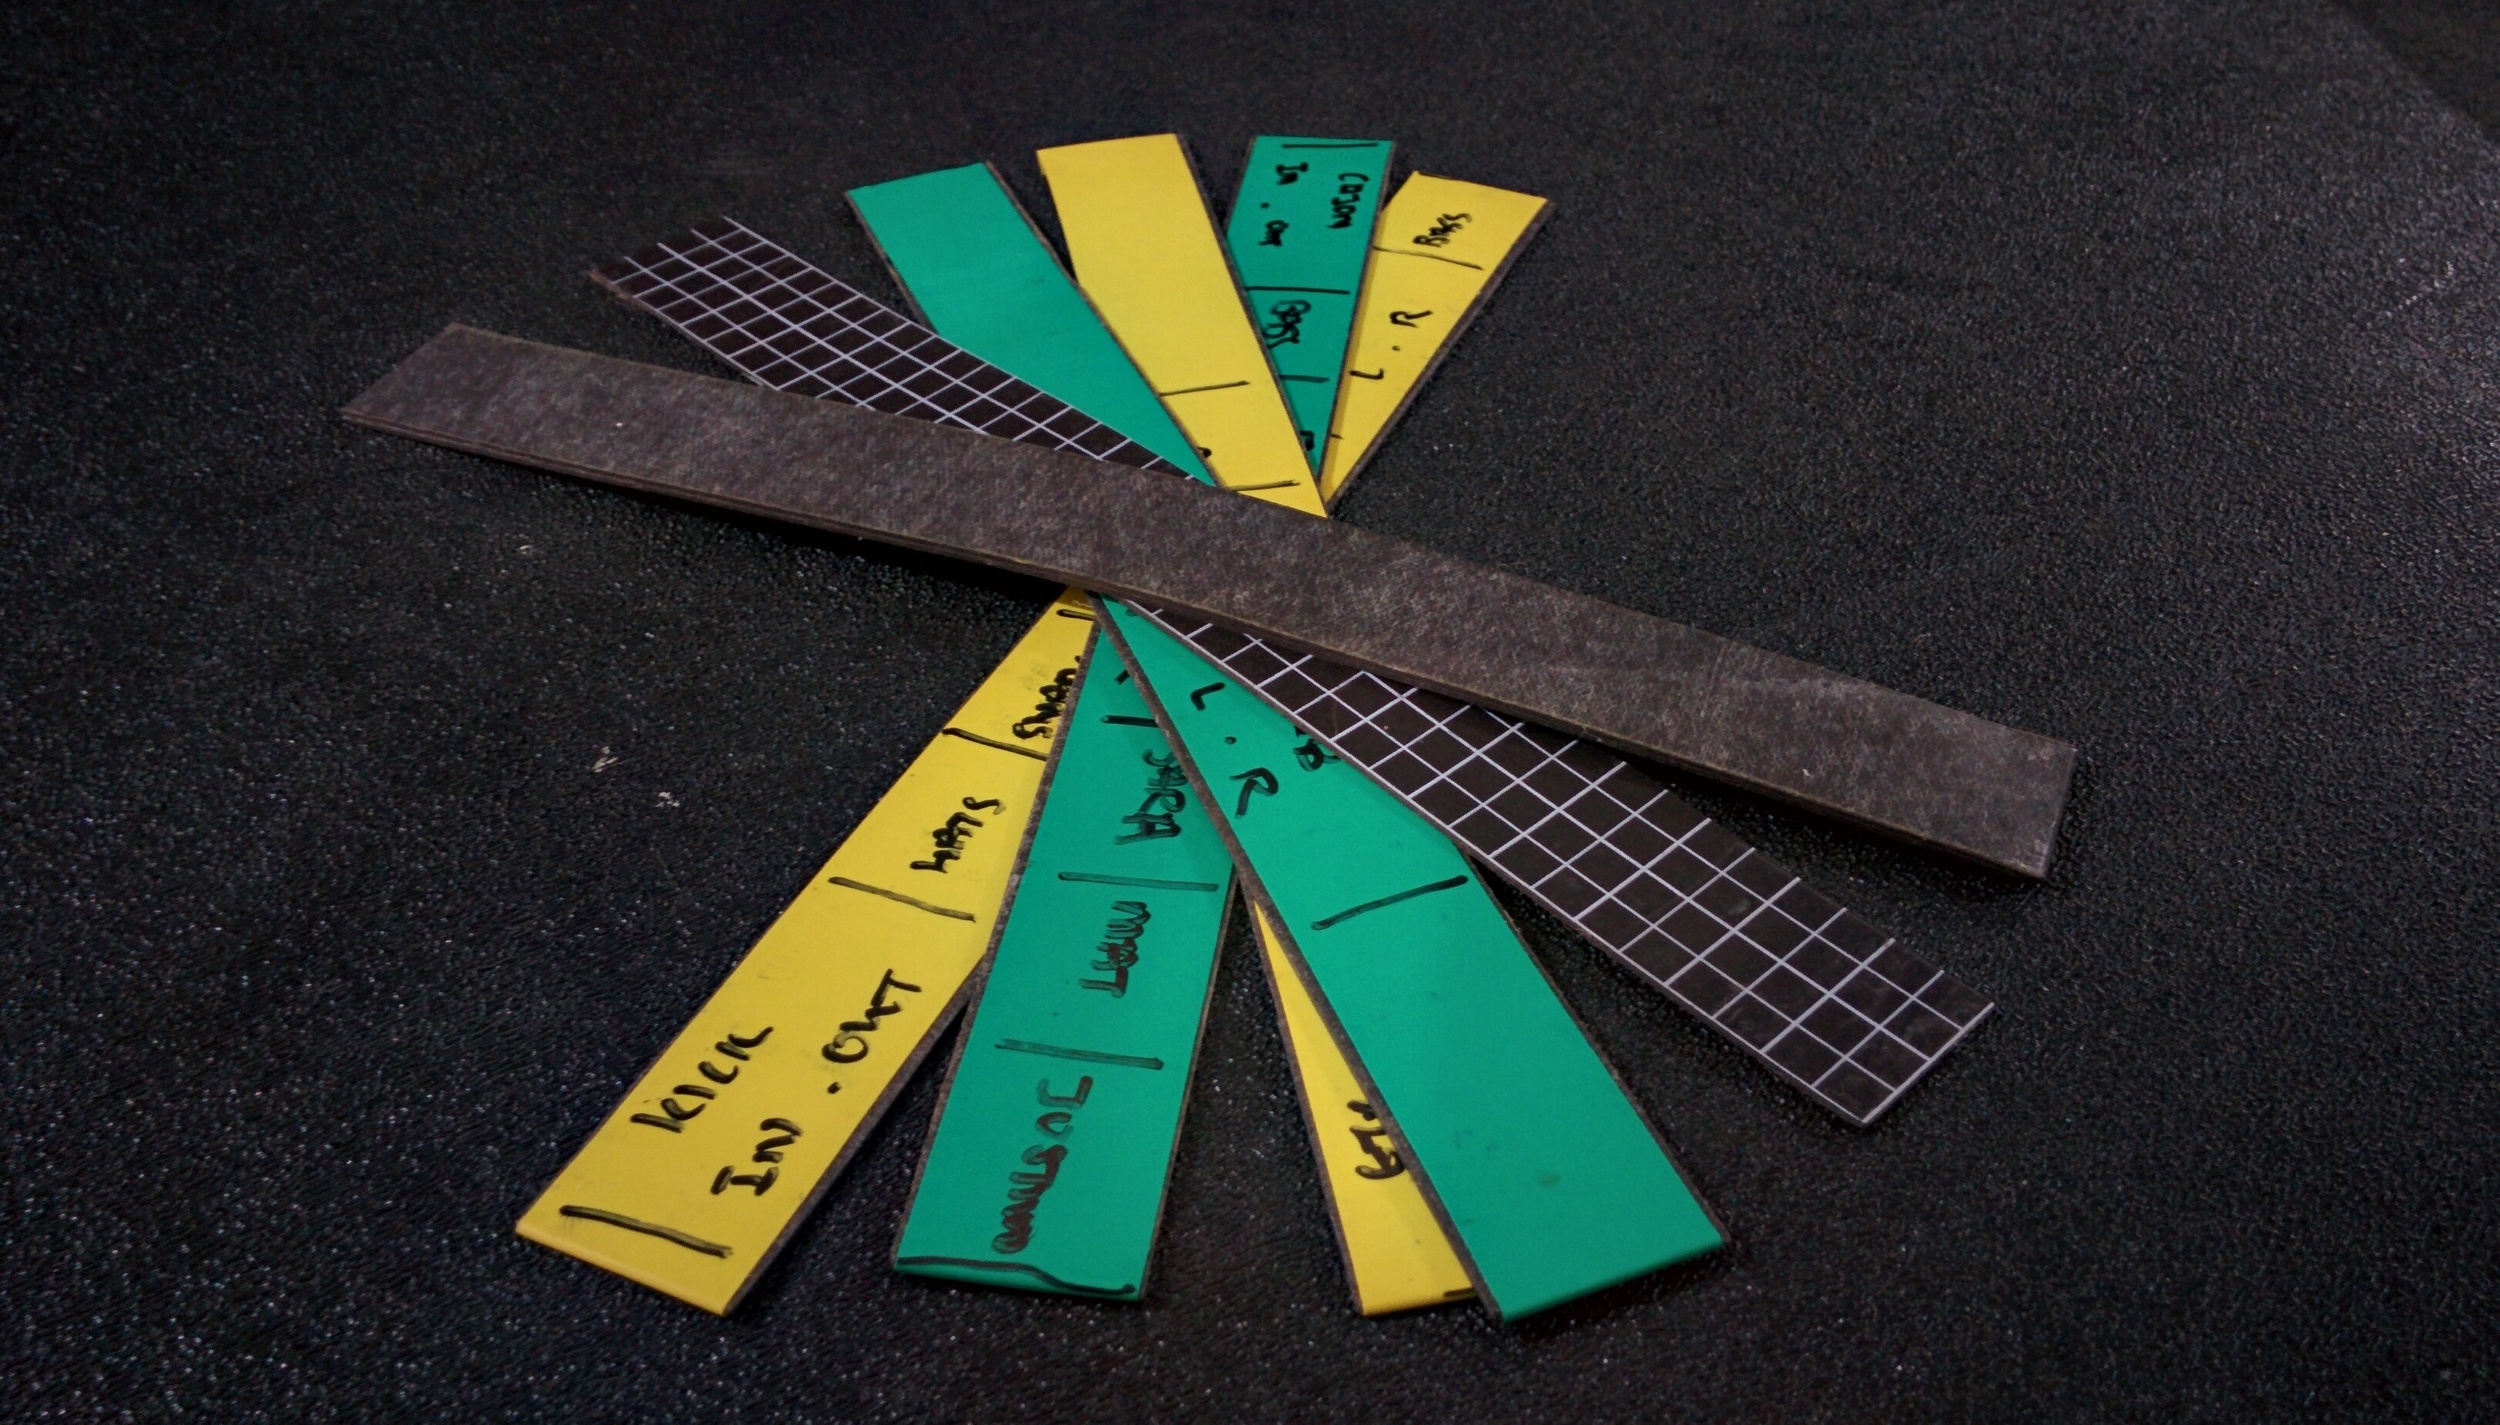
Not every live mixing console comes with an onboard LCD screen to display information such as channel names. Labelling the console with electrical tapes was a common task for any engineer to do. However, that might stain the console with sticky residue if the tapes were left for too long. In some cases, such practices were not practical, for example, in a festival situation where numerous bands are performing. This would require different sets of labelling to accommodate the changes in the audio patch. Using magnetic strips as a labelling medium can be a feasible way to counter this problem. This allows the labelling to be prepared on the strips. All you need to do is switch the magnetic strips as required. To make things even simpler, different bands can be colour coded to a set of magnetic strips. Daiso sells these magnetic sheets in different sizes and I have managed to purchase the A4 size pack (the most economical in my opinion). These magnetic sheets can be found in the stationery section of the store.

Daiso Magentic Sheet of various sizes

Using the magnetic strips for console labelling

Example of an onboard LCD display

Daiso Filter Bag for tea

For this product, it does not work alone with just the filter bag purchased from Daiso. The filter bags are to be filled with silica gels (not bought from Daiso) and be used anywhere to generally control the humidity in the environment. Humidity is one of the worst enemies for any microphone windshield / pop filter as they tend to disintegrate easily after long exposure in a high humidity space. As a general practice, I would couple these silica bags in pouches, cases or bags that store porous materials. Although Daiso does sell pre-packaged silica gel (laundry section), I would favour filling the filter bags myself as that is a cheaper option (but time-consuming). These filter bags can be found in the dining section of the store.

Daiso Tea Filter Bag with Silica Gel

Left: Pre-packed silica case, Right: "Selfmade" silica pouch

The great (maybe addictive) thing about Daiso is that the products are cheaply priced and does not cost you much to start experimenting around for other purposes. These items are some of the past purchases that I find extremely useful and would not mind buying again. If you have a specific Daiso item that is useful in this field of work, why not share it with the community in the comment section?

YWFU

Your First Microphone - What are the choices? (Part 2)

After looking at the different avenues in the types of microphones available in the market—from dynamic to condenser, small diaphragm to large diaphragm—we have concluded that a large diaphragm condenser microphone (LDC) might be your best option as your first microphone. In this post, let's take a look at the various microphones that are available in the market.

Choosing a microphone can be a rather subjective topic whereby different individuals will have a different liking towards certain sound characteristics. While it is true that you can have some level of control when it comes to post-production (e.g. EQ), the microphone is the first line of defence when recording a sound. The miking technique will also play an important role. Therefore, an expensive LDC microphone will not necessarily sound good if bad miking techniques are applied. Although sound characteristics may be subjective, there are still some attributes that you can consider and might even save you some money along the way.

The directivity of a microphone (aka polar pattern) refers to the microphone's transducer area of acoustical pickup. The most common pattern in a microphone will be cardioid, which will only capture sound that is in front of a microphone and reject sound that is behind the microphone. Other common polar patterns would be supercardioid (e.g. Shure Beta 58) and hypercardioid (e.g. Sennheiser MKE 600), whereby both polar patterns have a narrower pickup area as compared to a cardioid microphone. The latter is also often referred to as shotgun microphones, commonly used in broadcasting. In almost any recording scenario, a cardioid microphone will be used, as it provides a good balance of direct and ambience sound with a relative area size of pickup to record with ease. There are some microphones (e.g. AKG C414) that have the feature of switchable patterns, which usually equates to additional cost. You most probably do not need the additional pickup patterns since this is your only microphone and you will be using close miking techniques most of the time.

If you do not wish to commit too much financial resources into your first purchase, I might have a few good options that you might be interested in. Firstly, the CM25 condenser microphone included in both the Focusrite 2i2 ($400~ SGD) or Solo ($300~ SGD) studio bundle has helped save the fuss of scouting your first recording gears from the sea of microphones available in the market. It brings you up to speed at a decent level and provides the full recording package for you to start recording immediately. Check out the video below for a sample recording. If you are just starting out recording as a hobby, the studio bundles do not require you to invest much to get you going.

Focusrite Studio Bundle demo. 
Performing artiste: Shannon Saunders
Song: In the dark

In the mid-range of $400 - $700 SGD, you will be spoiled for choices as there are many good LDC microphones that often come with a shock mount microphone adapter and pop filter (usually used for vocal plosives) as a package deal. The Rode NT-1A has almost dominated this price range with a shock mount adapter, pop filter, XLR cable and a dust cover (basically a soft carrying bag) all included in the package. This microphone sounds clean and is widely used in many different projects. Unless you have been hiding under the rock for the past 10 years, chances are you have heard and loved the sound of this microphone without even realising it (many Youtubers use this).

Rode NT-1A, Credits Rode Microphone

Lastly, the Advanced Audio Microphone CM414, which is usually priced around $800~ SGD can be considered a huge investment for many of us who are just starting out in a home studio. As mentioned above, microphone preferences can be a little subjective and at the price range of below $1000 SGD, the CM414 is one of the most iconic microphones used in many recording we loved (fun fact, the Pitch Perfect movies were all recorded through Advanced Audio Microphones). This microphone is packed with selective polar patterns and high pass filter options. If you have access to a second CM414, you could actually do Blumlein Pair (both microphones switched to figure 8 pattern), which has an exceptional reproduction of stereo imaging. In my personal experience, I have used this technique in miking up symphony bands and even drum overheads.

Advanced Audio CM414, Credits Advanced Audio MIcrophones

Regardless of which microphone you get or can afford, at the end of the day, the quality of hardware will only get you that far even with a cheaper priced microphone. Your creativity and understanding towards the microphone will have more influence in the quality of recording you produce. Whether it is a dynamic or condenser microphone, a microphone is just a capsule to capture the acoustical performance. Your techniques will affect the sound characteristic more than you think. In many cases, if time permits, try and experiment around with the microphone to get the sound you like even before you even start recording (I'll fix it in post).

YWFU