New and Interesting audio products - June 2016

Every year, new audio products are being introduced or launched at various trade shows such as NAMM, Musikmesse or Prolight + Sound. These products do not necessarily have to be totally new in the market, they can also be an improved version of their previous products. It's half way through the year 2016 and these are some of the audio products that really interest me.

Schertler Modular Mixer

Schertler has launched their new audio mixer and this is pretty interesting. The Arthur modular mixer, as the name imply, is an audio mixer that can scale through modularity. Currently, the range consists of 6 types of inputs and outputs modules. For the inputs, you have the mic level input, instrument input (Variable impedance, either Hi-Z or Low-Z) and stereo line input. As for the outputs, the line-up consists of a Stereo master bus (L/R master), master bus EQ unit and auxiliary master modular. All these modules use discreet class A components and pure high-voltage DC amps to ensure a high Signal to Noise Ratio (SNR).

Schertler's Arthur Modular Mixer; Credits Schertler  

Having a high-quality audio circuitry design and built in these modules might not be its biggest selling. For once, the buyer or engineer has the freedom to purchase the modules that are needed only. This designed encourage flexibility in system design and versatility in system integration. Assembly of the mixer is simple with the locking mechanism (locking signal connectors, connecting rods and hexagonal screws) and you can assemble them in any sequential order. Power supplies for the Arthur modular mixer include a 8 or 16 units compact style power supply or a high power output supply which can be used up to 60 units. For designs that encompass more that 60 modules, the mixer require additional power module unit to allocate adequate power for the mixer to operate.

Large format configuration

Mesanovic Microphones Model 2A Active Ribbon Microphone

Yes, an active ribbon microphone, you did not read that wrong. A ribbon microphone is known to be dedicated as the transducer's design consist of a thin corrugated strip of metal (often aluminium) or film suspended between two magnetic poles. Unlike the moving coil microphone, ribbon strip responds to variation in the velocity of air particles, rather than the sound pressure level (SPL) of the acoustical energy. As the ribbon strip vibrates within its magnetic field, it generates a tiny voltage that corresponds to these changes in velocity of the air particles. The output signal level of these microphones are very low as compared to the conventional moving coil microphone, thus the choice of a preamplifier is very crucial to the use of the ribbon microphone as it acts as a setup transformer to boost the output voltage.

This limitation has restricted many ribbon microphones to be only usable with very high-end equipment. However, the new Model 2A active ribbon microphone from Mesanovic Microphone has included an inbuilt transform to provide additional 30 dB of gain together with a discreet buffer circuit to lower down the output impedance to around 170Ω, a level that is common in the studio or pro audio world. This enables the microphone to be used in many different applications now even with portable audio interfaces. Nonetheless, this ribbon microphone is also very sensitive towards high wind situations as this will stretch out the material.

Mesanovic Microphones Model 2A Active Ribbon Microphone; Credits Mesanovic Microphones

Tascam iXR Audio Interface

This audio interface has caught my eyes with its capabilities to operate on different platforms. The Tascam iXR audio interface was designed for mobile / on the go applications while retaining its operability on desktop DAW software. This audio interface will work with iPad / iPhone using standard USB cable (e.g. lighting cable) or any computer (desktop or laptop) using standard USB type B to type A cable.

Tascam iXR audio interface; Credits Tascam

Unlike the Focusrite iTrack Dock that will only work with the later generations of iPad (lighting connector), the iXR does not limit the user to record on this platform. The Tascam iXR present itself with two inputs (combo units, switchable between Hi-Z or Low-Z) and outputs together with MIDI control (using 5 pin din). The unit is USB bus powered, therefore, allowing the user to record anyway, even in an environment without any nearby power source. Recording time will depend on the battery life of your connect devices.

Focusrite iTrack Dock; Credits Focusrite

The Tascam iXR is attractively priced at $150 USD and every package will include copies of Cubase LE for iPad/Mac/Windows.

Rear view of Tascam iXR. USB A to interface with iPad and USB type B to interface with computer.

 YWFU

Your First Microphone - Let's talk about characteristics (Part 1)

Unless you are solely recording through line inputs, you probably will need some form of a microphone to pick up the acoustical source you are recording. Getting a microphone can be rather daunting for some individuals as there is a magnitude of choices in the market that can easily overwhelm someone who is just starting out. Some might relate price to quality, which in the world of recording can be a little bit tricky to justify. To illustrate, the famous U47 has been consistently priced at thousand of dollars secondhand, however, the U47 has also been "notoriously" known to be inconsistent in the way they sound due to their limited lifespan, they can sound very different from one another and some might suit one singer but not the other.

Warran Huart (Produce Like A Pro) with guest Aspen Pitman briefly talks about the Neumann U47

Purchasing a microphone is an investment and if you are looking for your first microphone, you should look for a microphone that is versatile in almost any applications. A microphone that will work well with acoustical guitar, vocal, piano (mono, yes it is possible) and even drum set (room miking and you could get a decent sound with adequate technique and room). Your first microphone will be the "Swiss army knife" for almost any recording and you will probably do multi-track recording, or if you are feeling adventurous, a one take recording with all the artists crowding around the microphone (one mic technique).

With such requirements, your first microphone I would recommend would be a large diaphragm condenser microphone. A large diaphragm condenser microphone has a few key characteristics that will justify the initial purchase, namely, flat frequency response, high dynamic sensitivity and good transient response. A dynamic microphone (e.g. Shure Beta 58A) works very differently as compared to a condenser microphone (e.g. AKG C451B). A dynamic microphone utilises a magnetic moving coil transducer whereas a condenser microphone operates with a conductive electroplate to pick up acoustical energy. The differences in the design result in these two types of microphones to have different attributes and applications.

Dynamic Microphone Transducer Design; Credits Mediacollege

Condenser microphones are known to have a better flatter frequency response as compared to the dynamic counterpart. This allows the microphone to have a better representation of the acoustical pickup the microphone is capturing, thus, allow the microphone to be more flexible in many applications (e.g. a piano has a wide range of frequency characteristics, low to high note).

Due to the type of transducer used, a capsule of a condenser microphone can be exponentially lighter as compared to a dynamic microphone. This is a straightforward comparison, as the magnet will easily outweigh the conductive plates used in a condenser transducer. With its lightweight transducer characteristics, a condenser microphone does require as many acoustical energies to push the conductive plates in order to convert acoustical energies into electrical signals. This allows the condenser microphone to be better suited in soft dynamic pick up (e.g. clarinet playing in pianissimo) while retaining the ability to record louder dynamic source (e.g. guitar cabinets, lower gain structure).

Condenser Microphone Transducer; Credits Mediacollege

Recording transient sounds also require the microphone to a pickup that is fast enough to capture the "attacks" of the instruments (e.g. hi-hats or xylophone). As mentioned above, the lightweight characteristic of the condenser microphone is better suited in this application as the transducer is able to move fast enough in order to reproduce the fast transient sound. Although there are cases where recordings are made with a combination of dynamic and condenser together to mike up a transient instrument, for example, a Shure SM57 and AKG C451B on a hi-hat. Most of the time, the dynamic microphone is mainly used to blend the sound together and create something more appealing. In this case, it can provide a more "edgy" hi-hat characteristics with the emphasis in the high-mid frequency on the SM57.

But why choose a large diaphragm condenser (LDC) over a small diaphragm condenser (SDC) microphone? Remember, we are picking up your first microphone; therefore, your microphone needs to be as versatile as possible for almost any application. First reason, an LDC has a larger surface area (more than 1 inch) of the conductive plate than an SDC microphone, hence, LDC microphone tends to output a higher voltage signal than an SDC which results in a higher signal to noise (SNR) ratio ("cleaner" signal in psychoacoustic terms). The second reason, an LDC has a lower frequency response than SDC microphone (diaphragm's larger surface area). This can play well with your vocals (which is one of the most important components in a song) due to its lower frequency response as compared to an SDC. SDC microphone tends to be more articulated and can be a little harsh sounding for this purpose.

It will be nice to have varieties of microphones in your toolkit; however, such inventory has to be slowly built upon for most individuals. Every type of microphone has its merits in specific applications (e.g. a pencil style condenser microphone is very well suited for capturing the articulation of the ride cymbals) but when the budget is a concern, we have to balance between the price and functionality a microphone can provide. An LDC microphone will probably be a lot more adaptable in many recording scenarios and the usage of the microphone is only limited by your own creativity.

YWFU

When do you need a Direct Injection (DI) box?

In the recent post about Pepperdecks DJOCLATE, I have mentioned that a Direct Injection (DI) box can be used to convert unbalanced to balanced signal. What else can a DI box do? Where and when should a DI box be introduced into a system? 

The DI box is an electronic device, typically contains an audio transformer to perform impedance / level matching (if you are interested in this topic, do let me know) either actively or passively. DI boxes can be often spotted in the studio or live sound application where it is used to convert audio signals, minimise signal noise and interference (e.g. ground loops).

Klark Teknik DN100 DI box

DI boxes come in a multitude of varieties and can be categories by either active DI or passive DI, with the latter often the cheaper option. The simplest form of a passive DI box consists of an audio transform that converts an unbalanced signal into balanced signal. Passive units tend to be less versatile than its active counterpart due to its simplicity in design, however, a passive DI is simpler and more reliable (less component) to use.

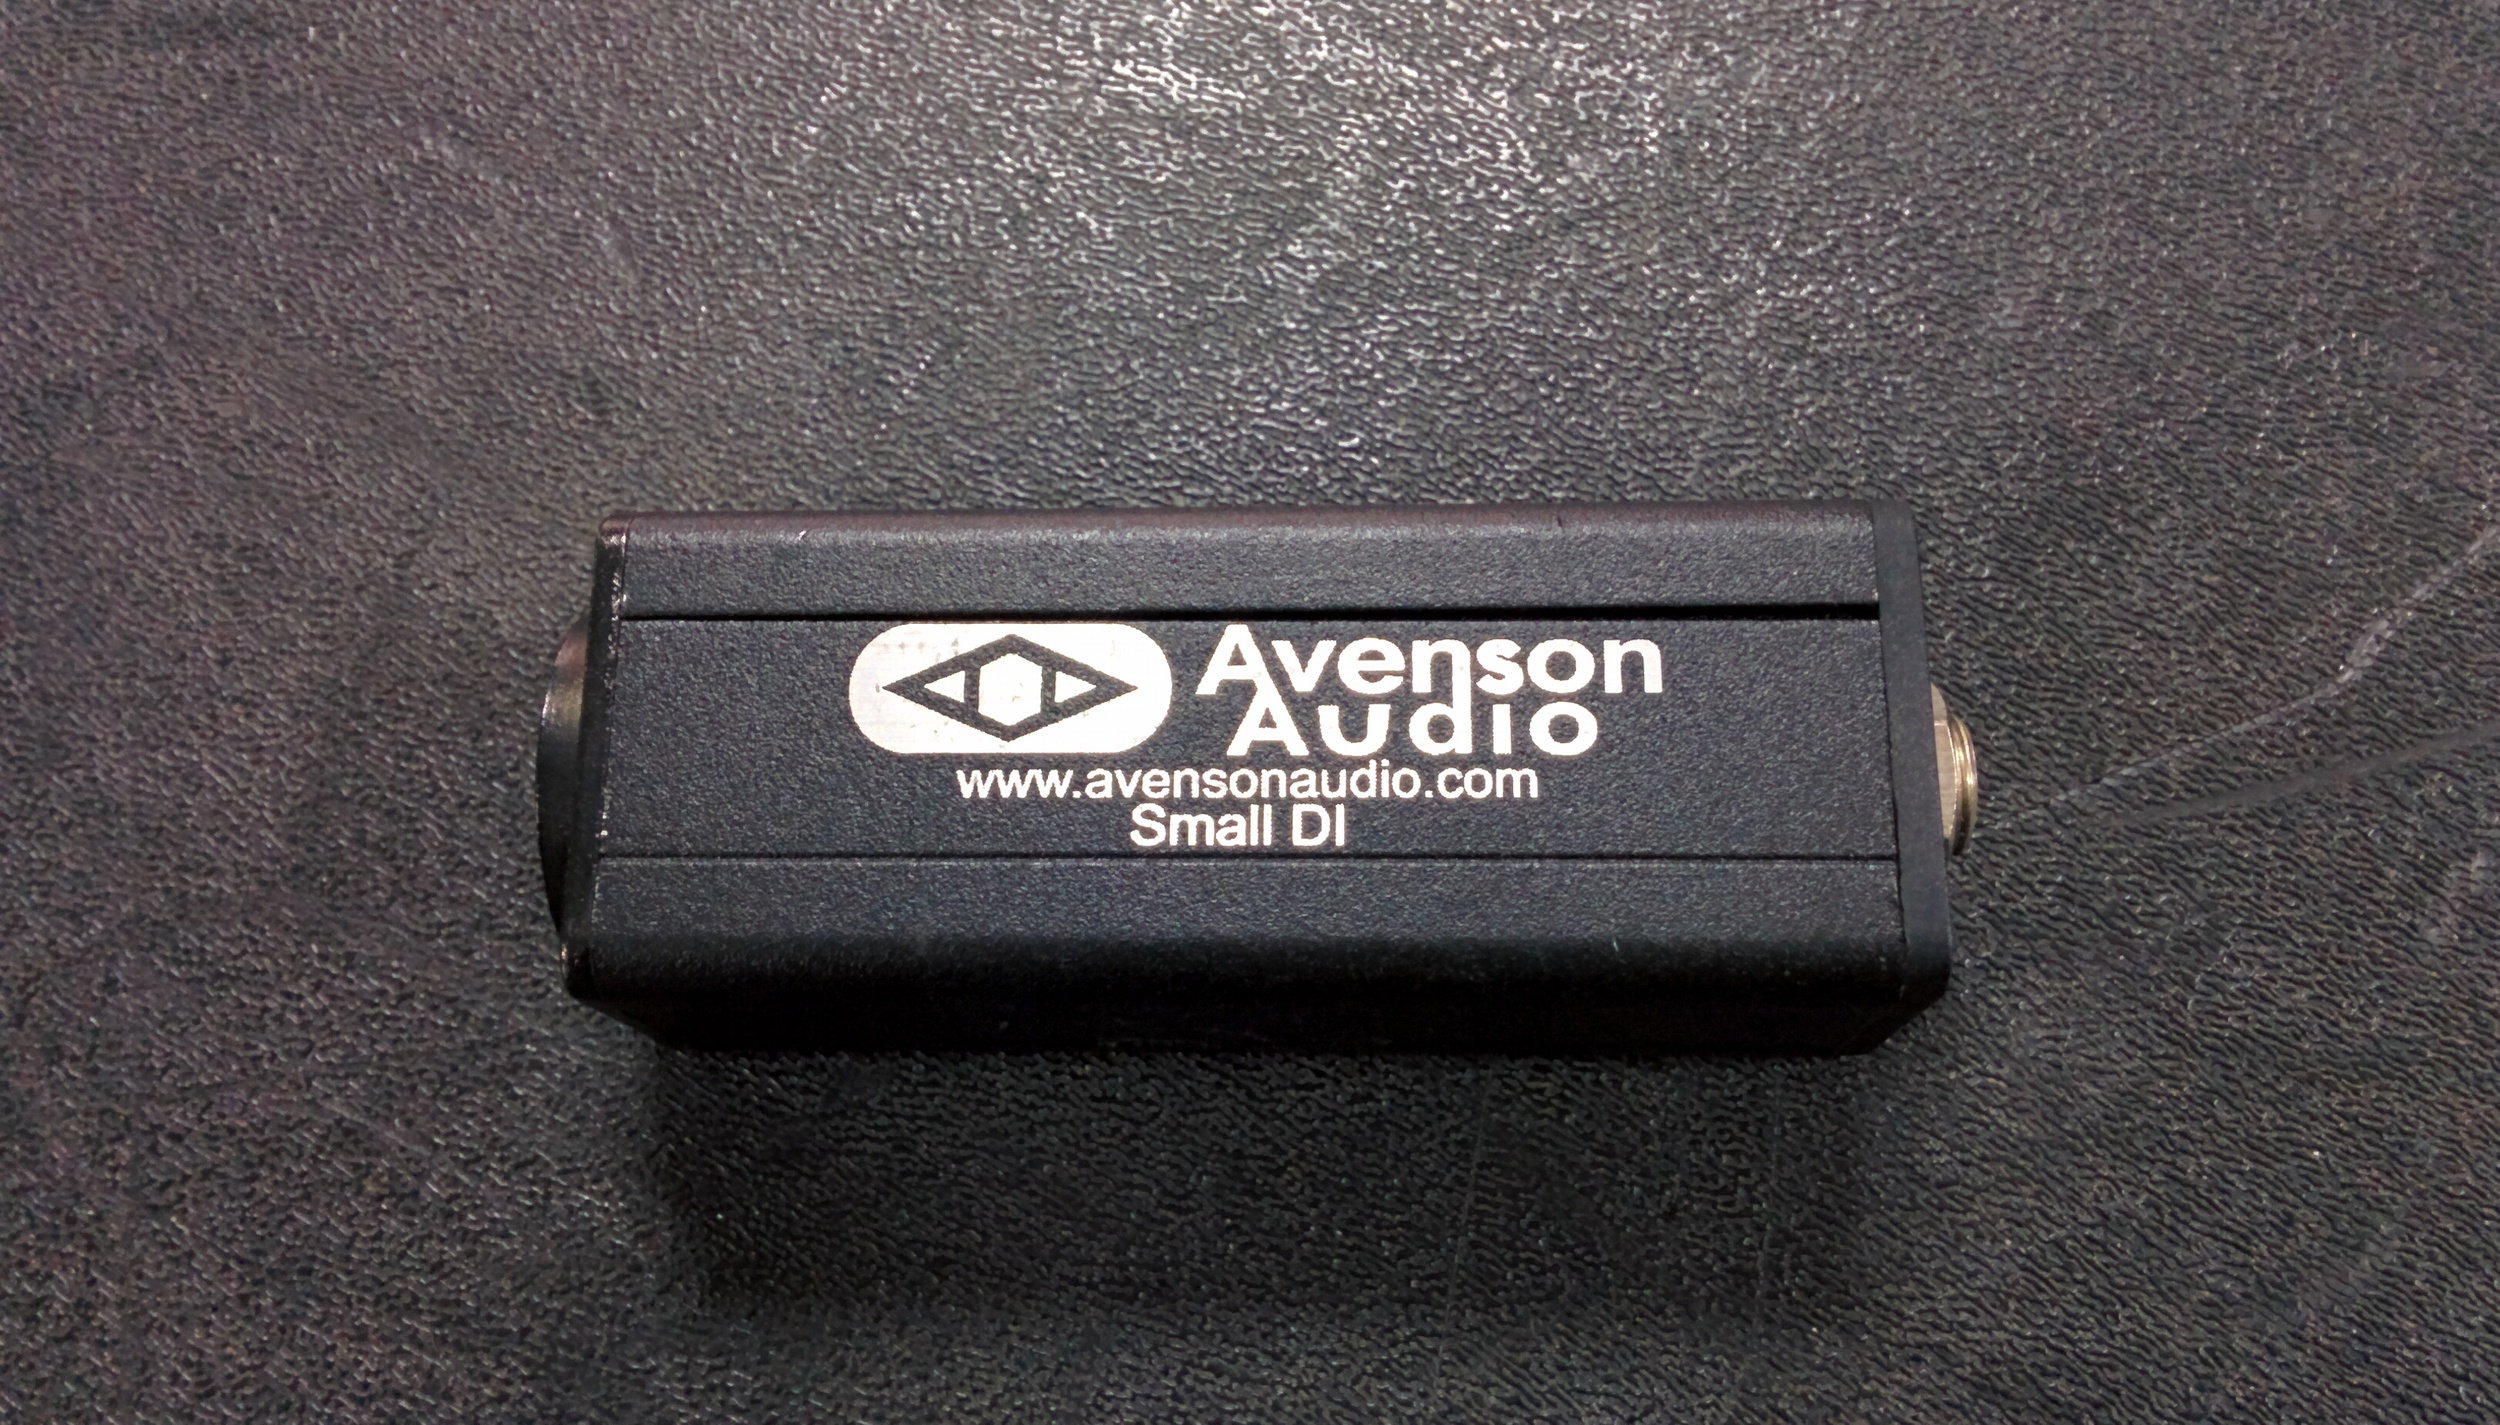
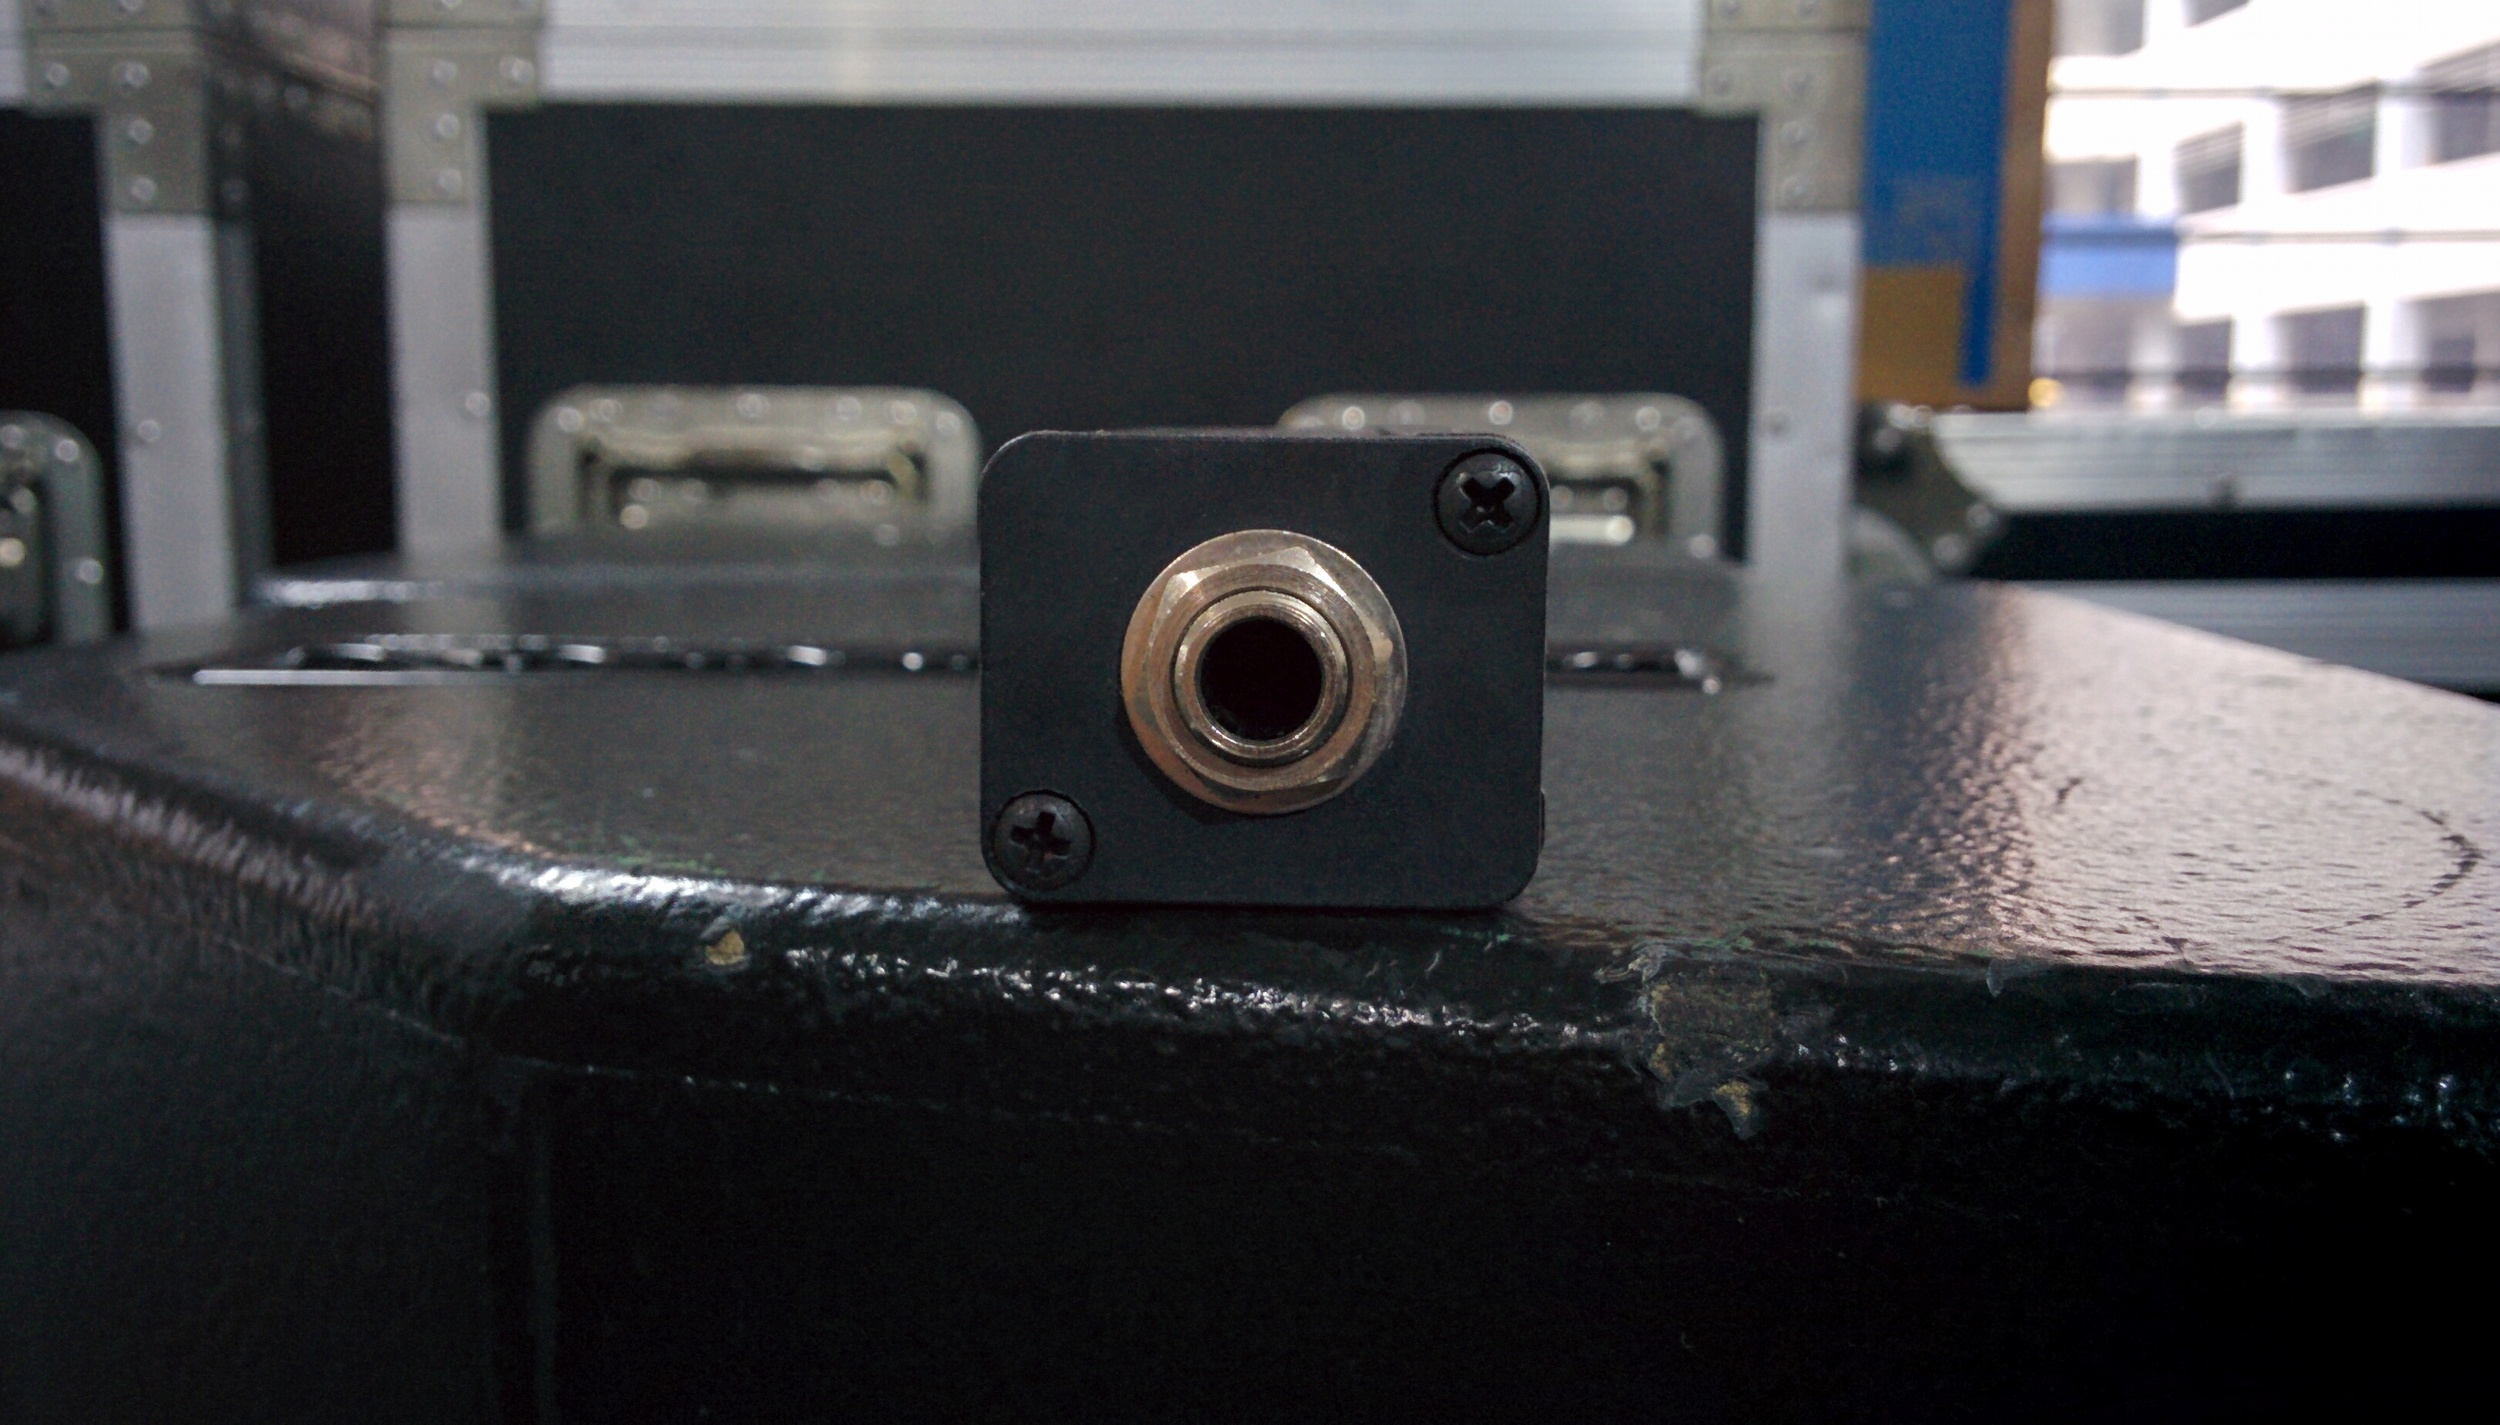
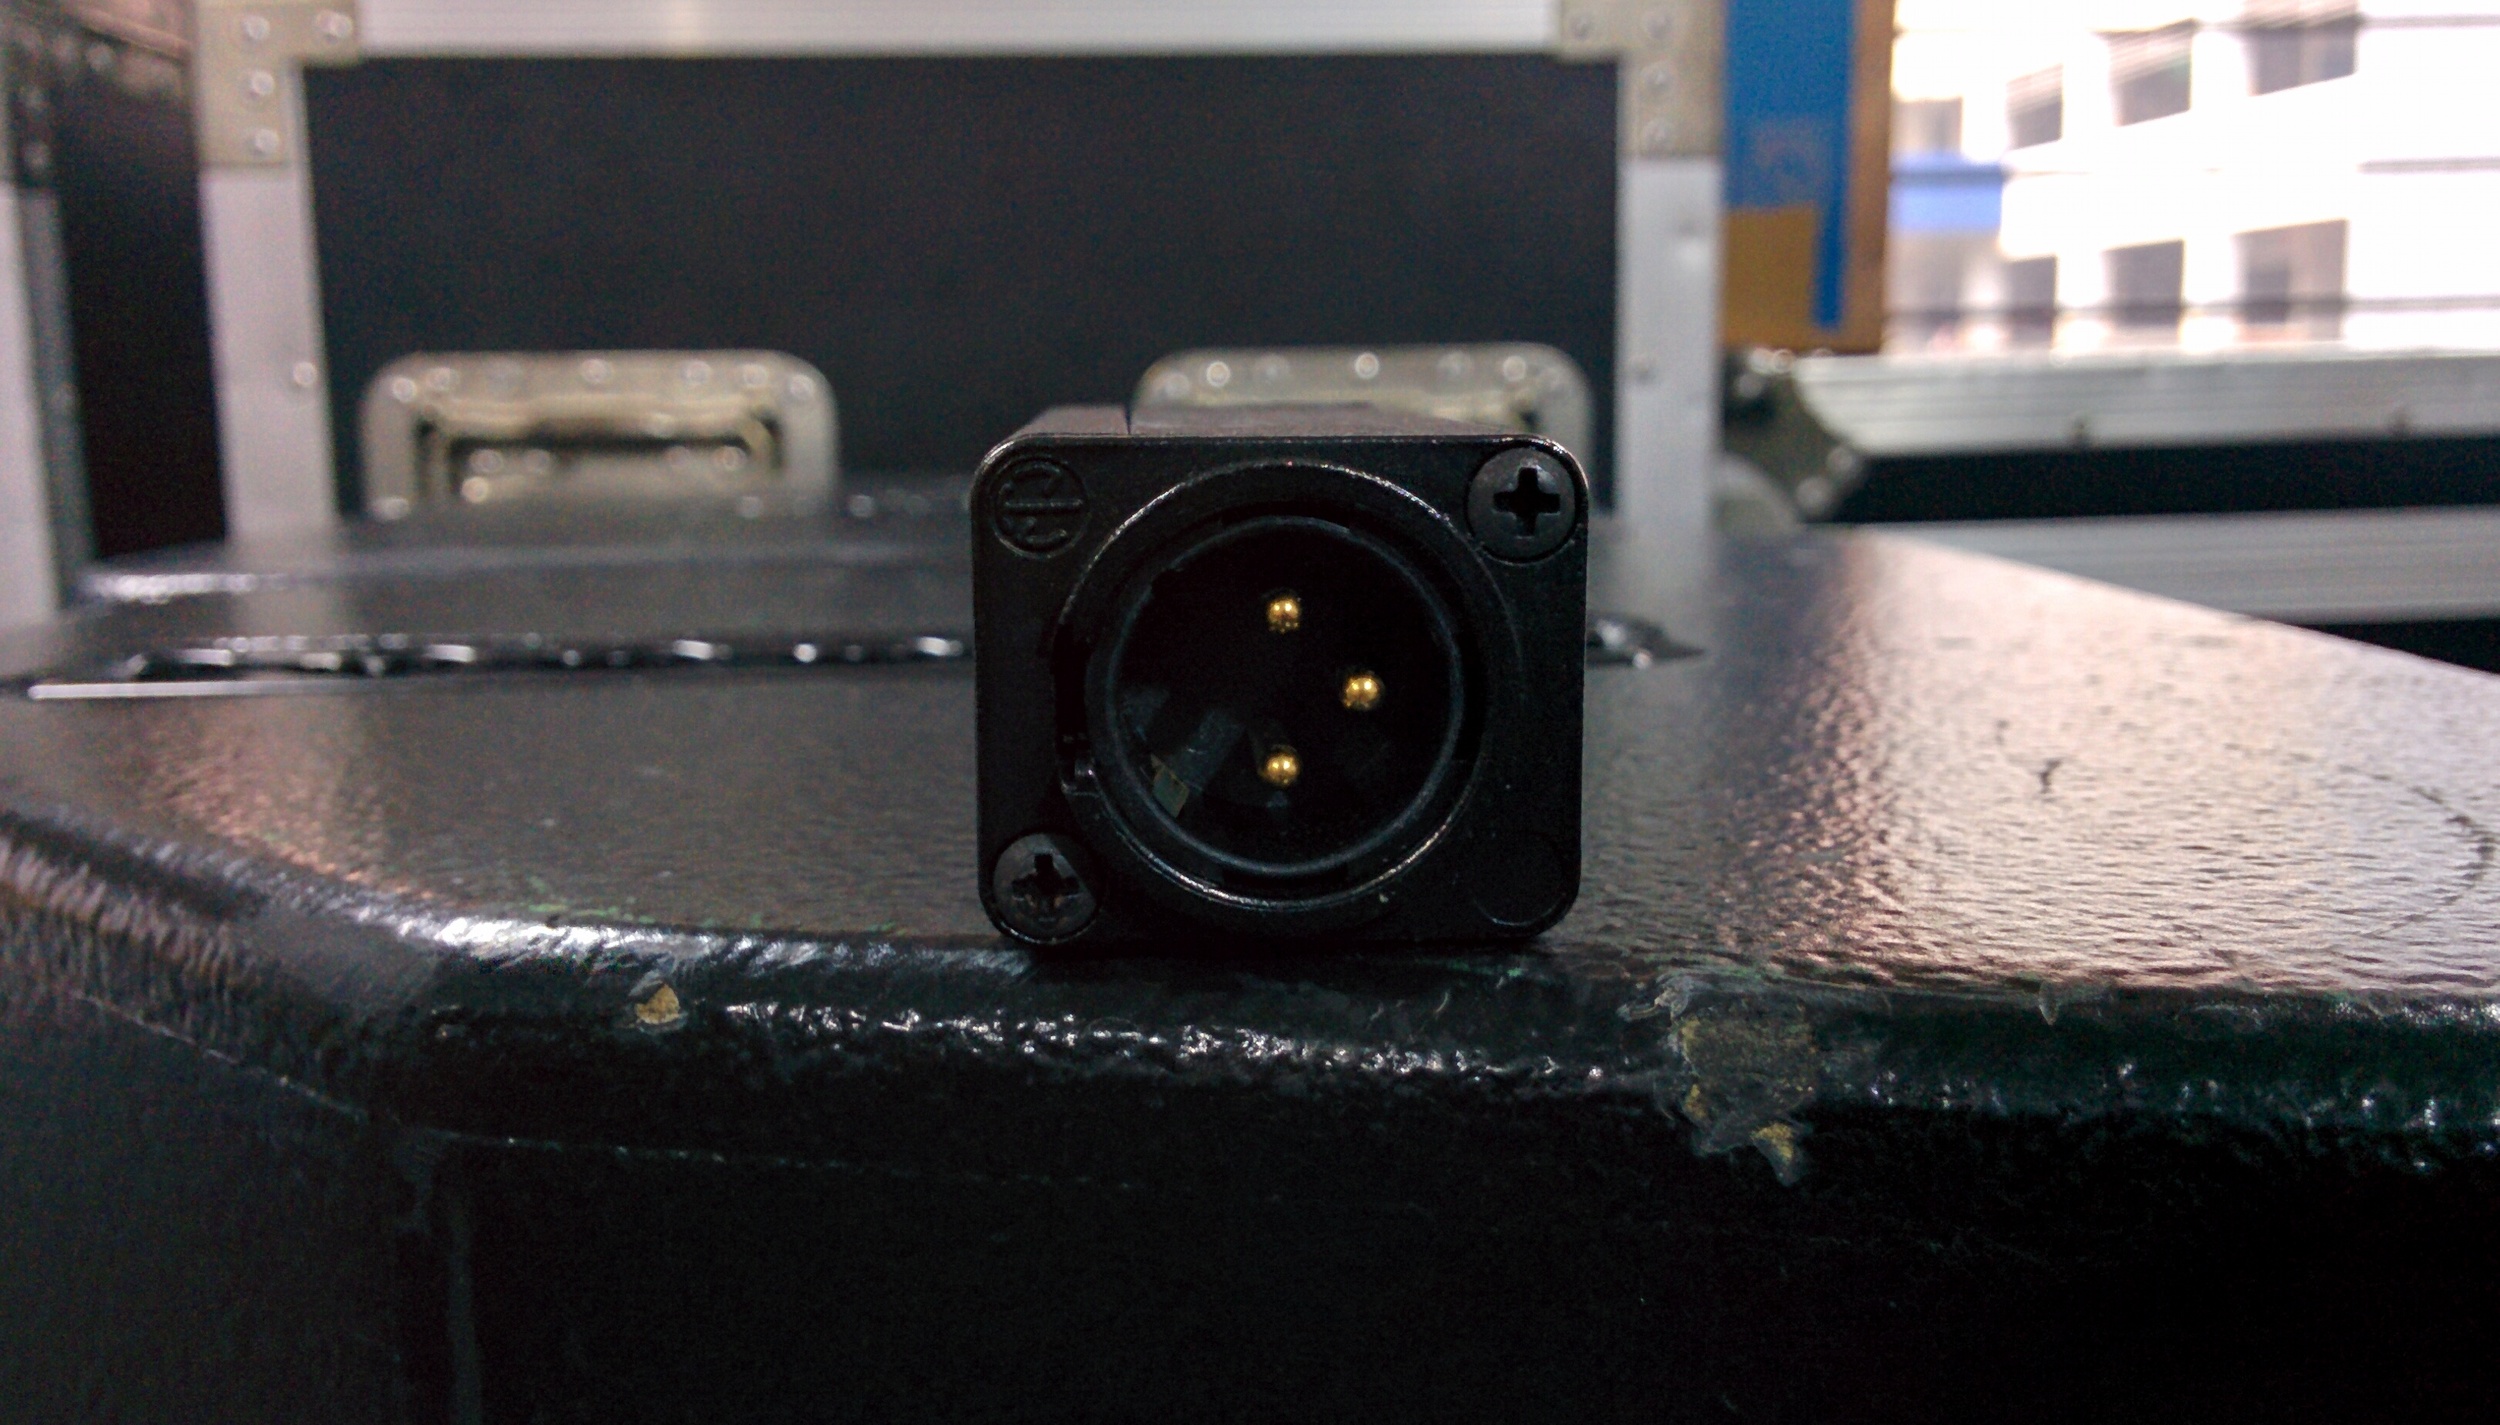
Avenson Small DI (passive, small footprint and lightweight.)

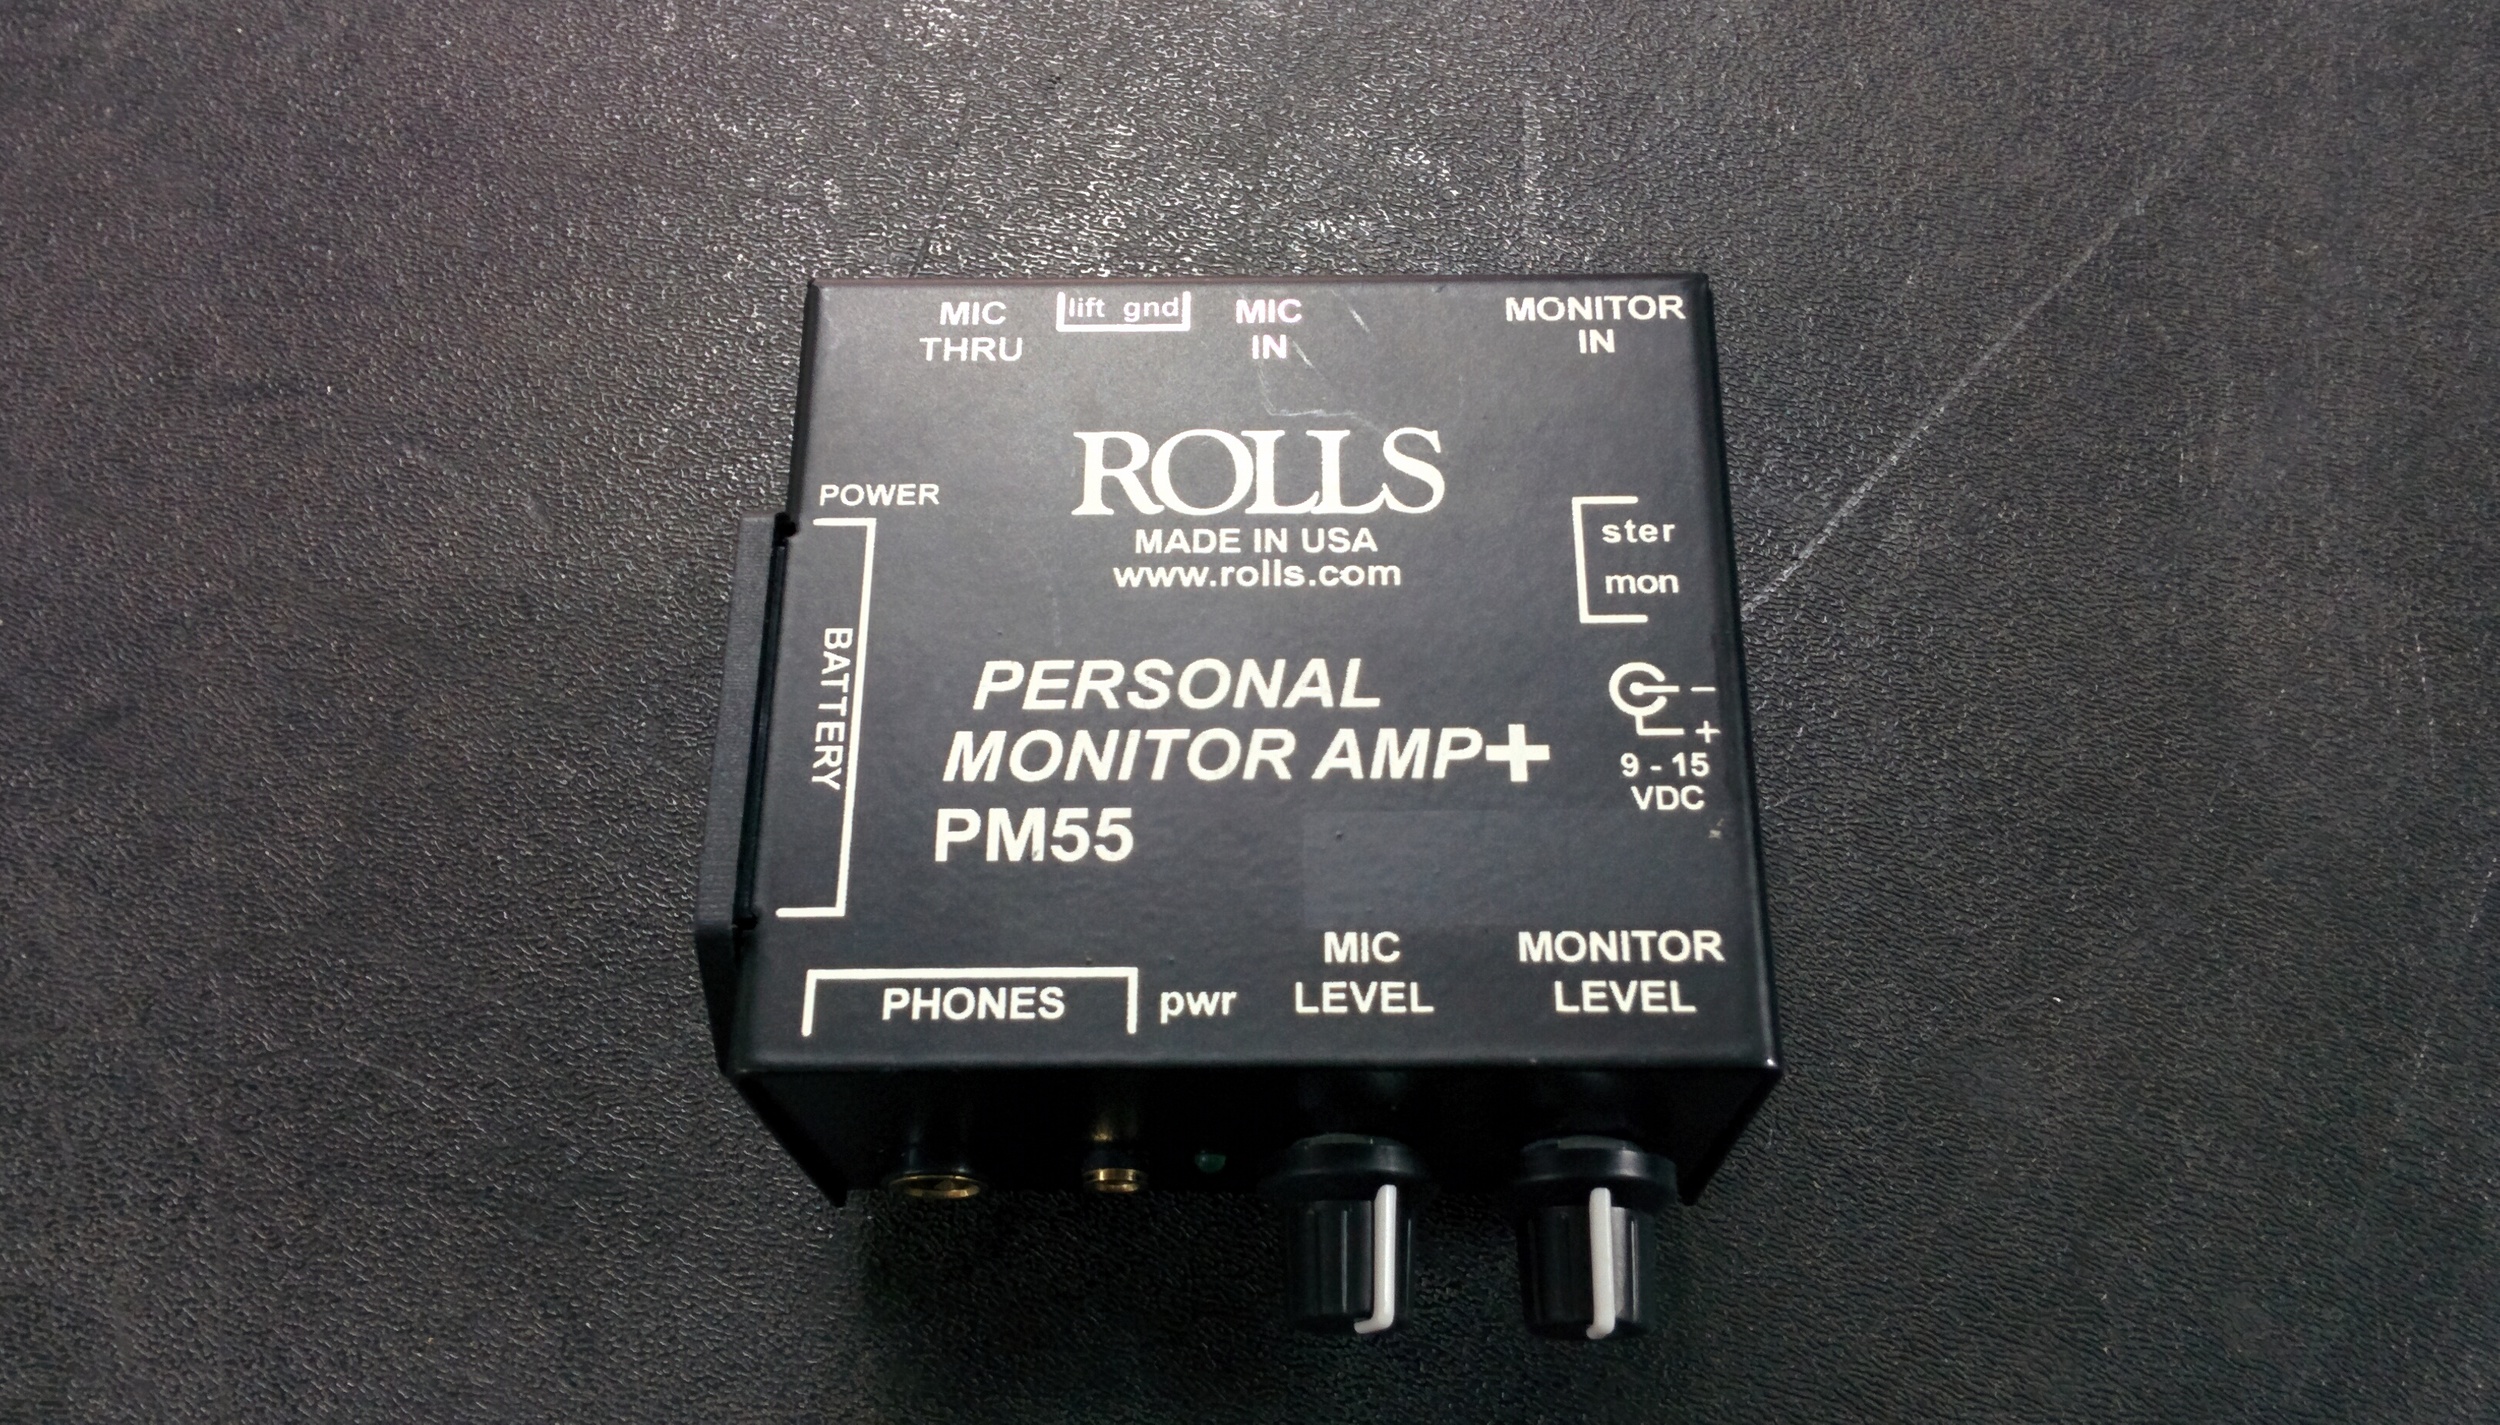
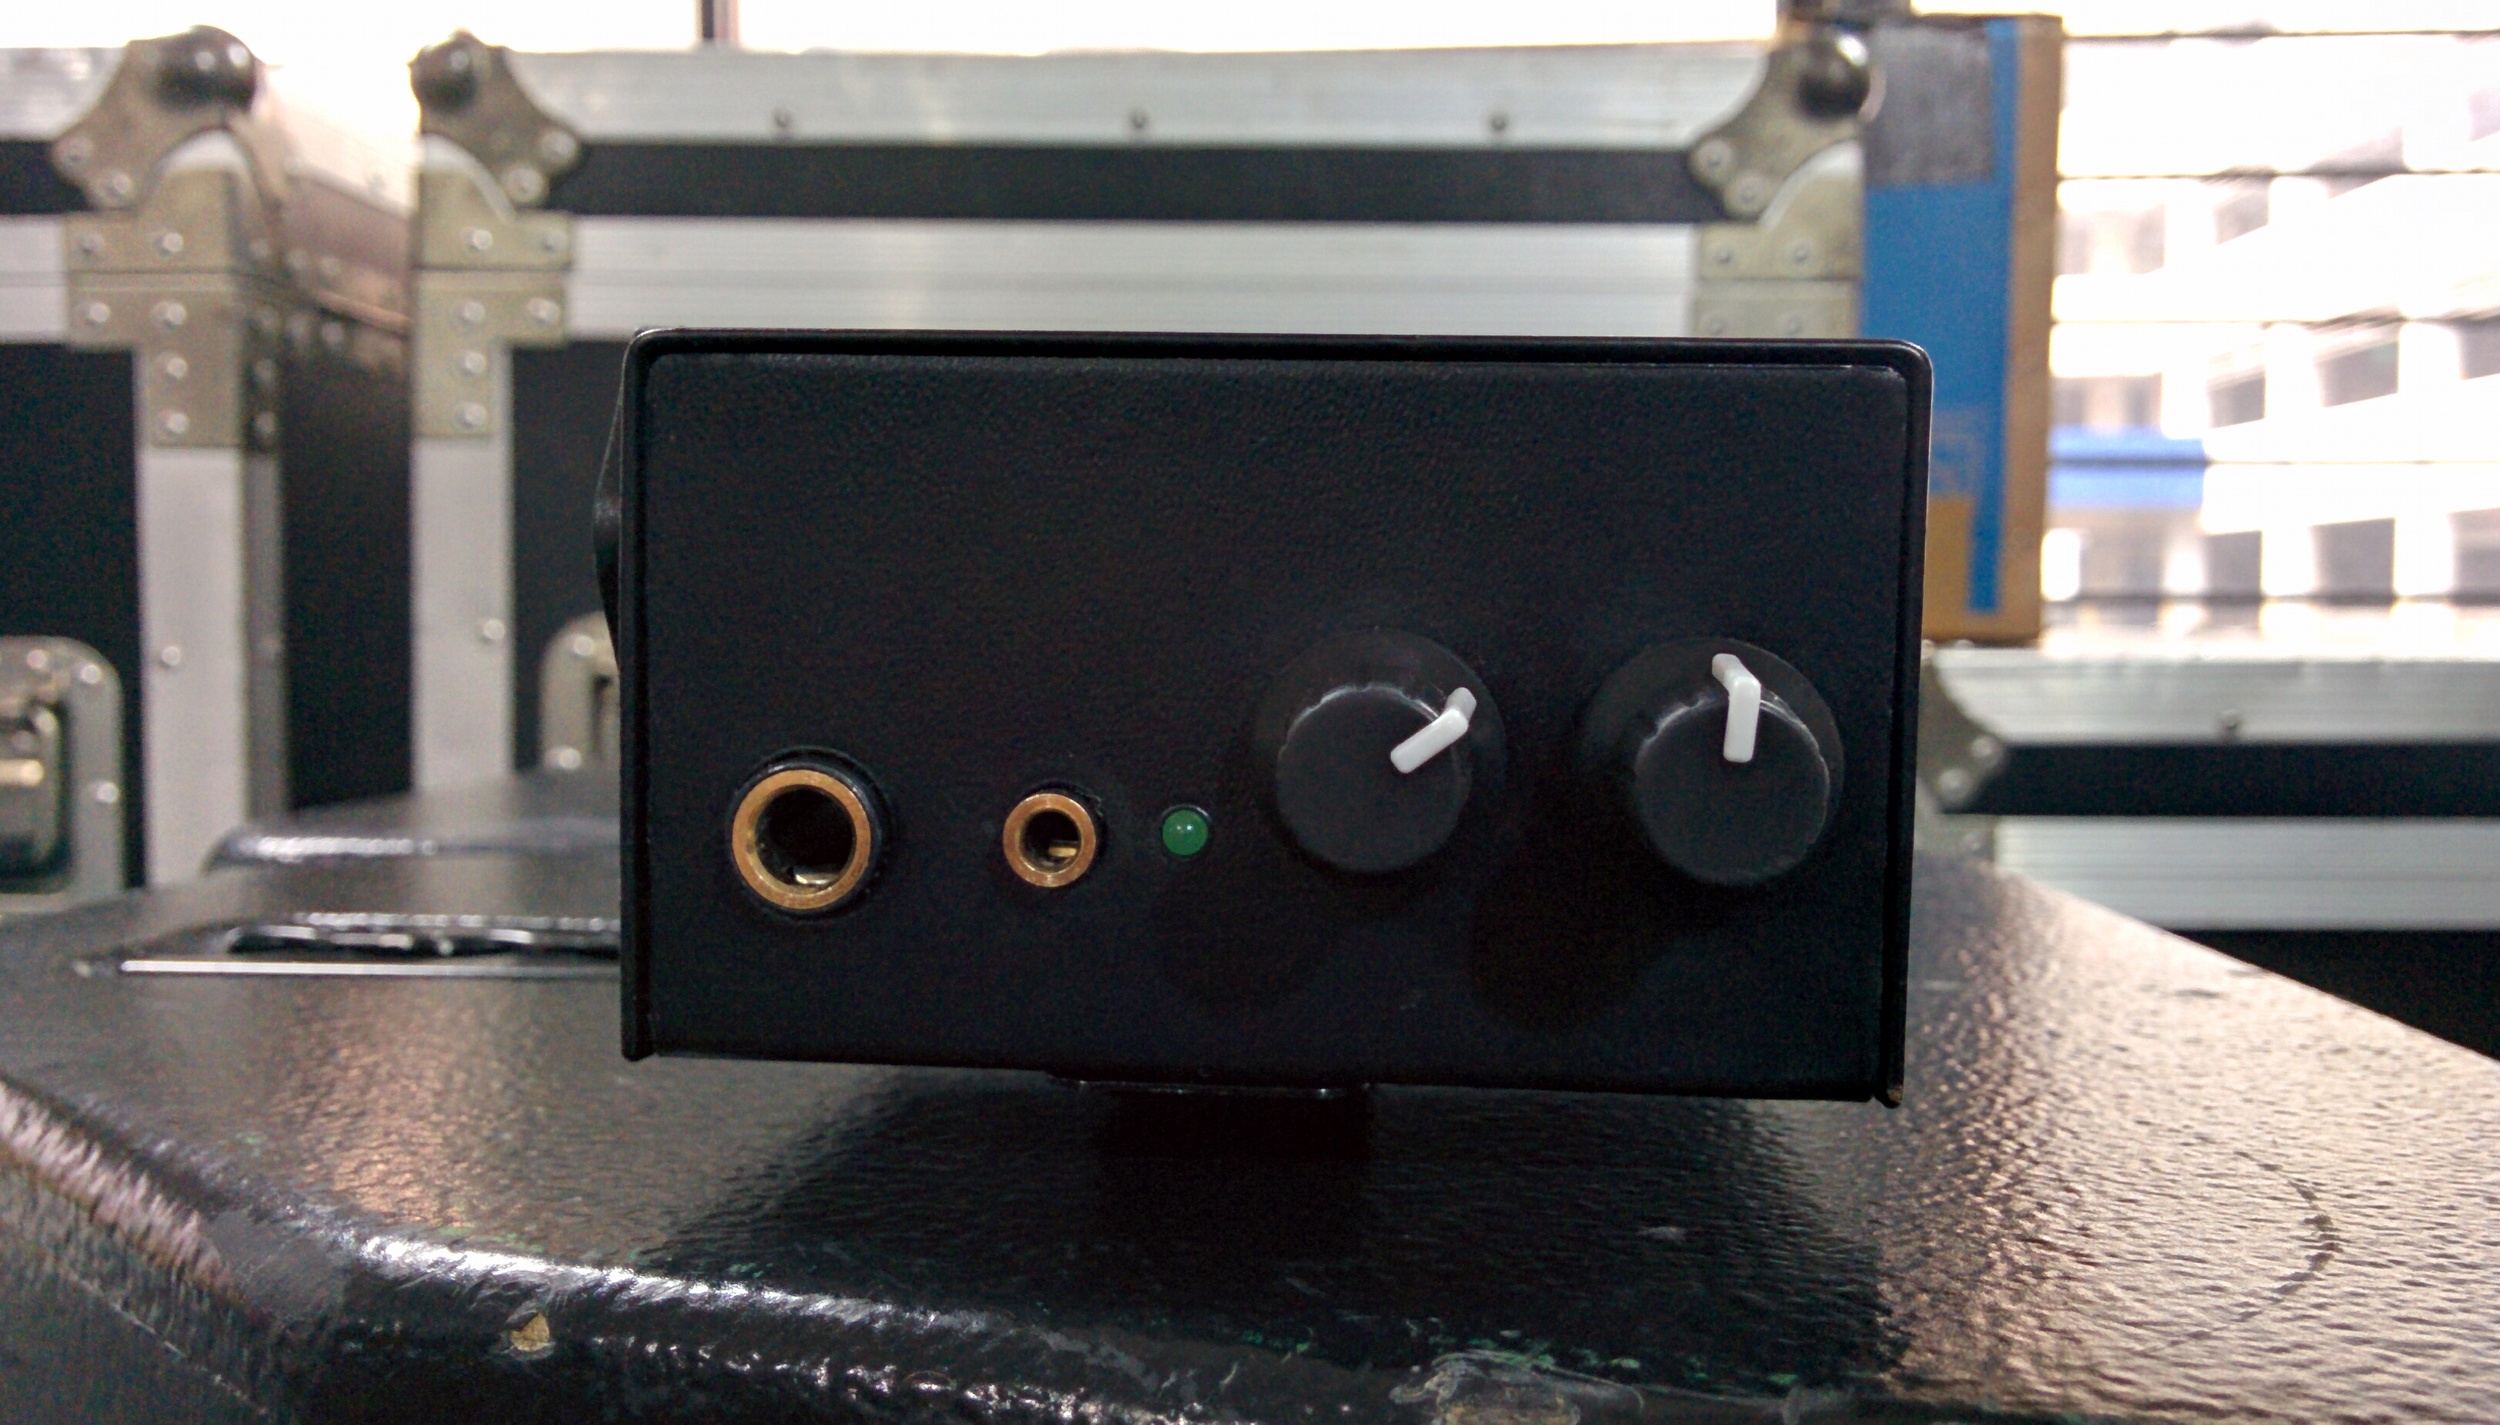
A less common form of a passive DI consists of a variable resistor, usually used as a volume control and maybe a coupling capacitor used to filter wanted audio signal (AC) from unwanted noise (DC). However, the output of such DI units is not suitable for audio consoles (usually range around 100 – 200 Ω) and are best used with headphones or loudspeakers.

Rolls Headphone Amplifier

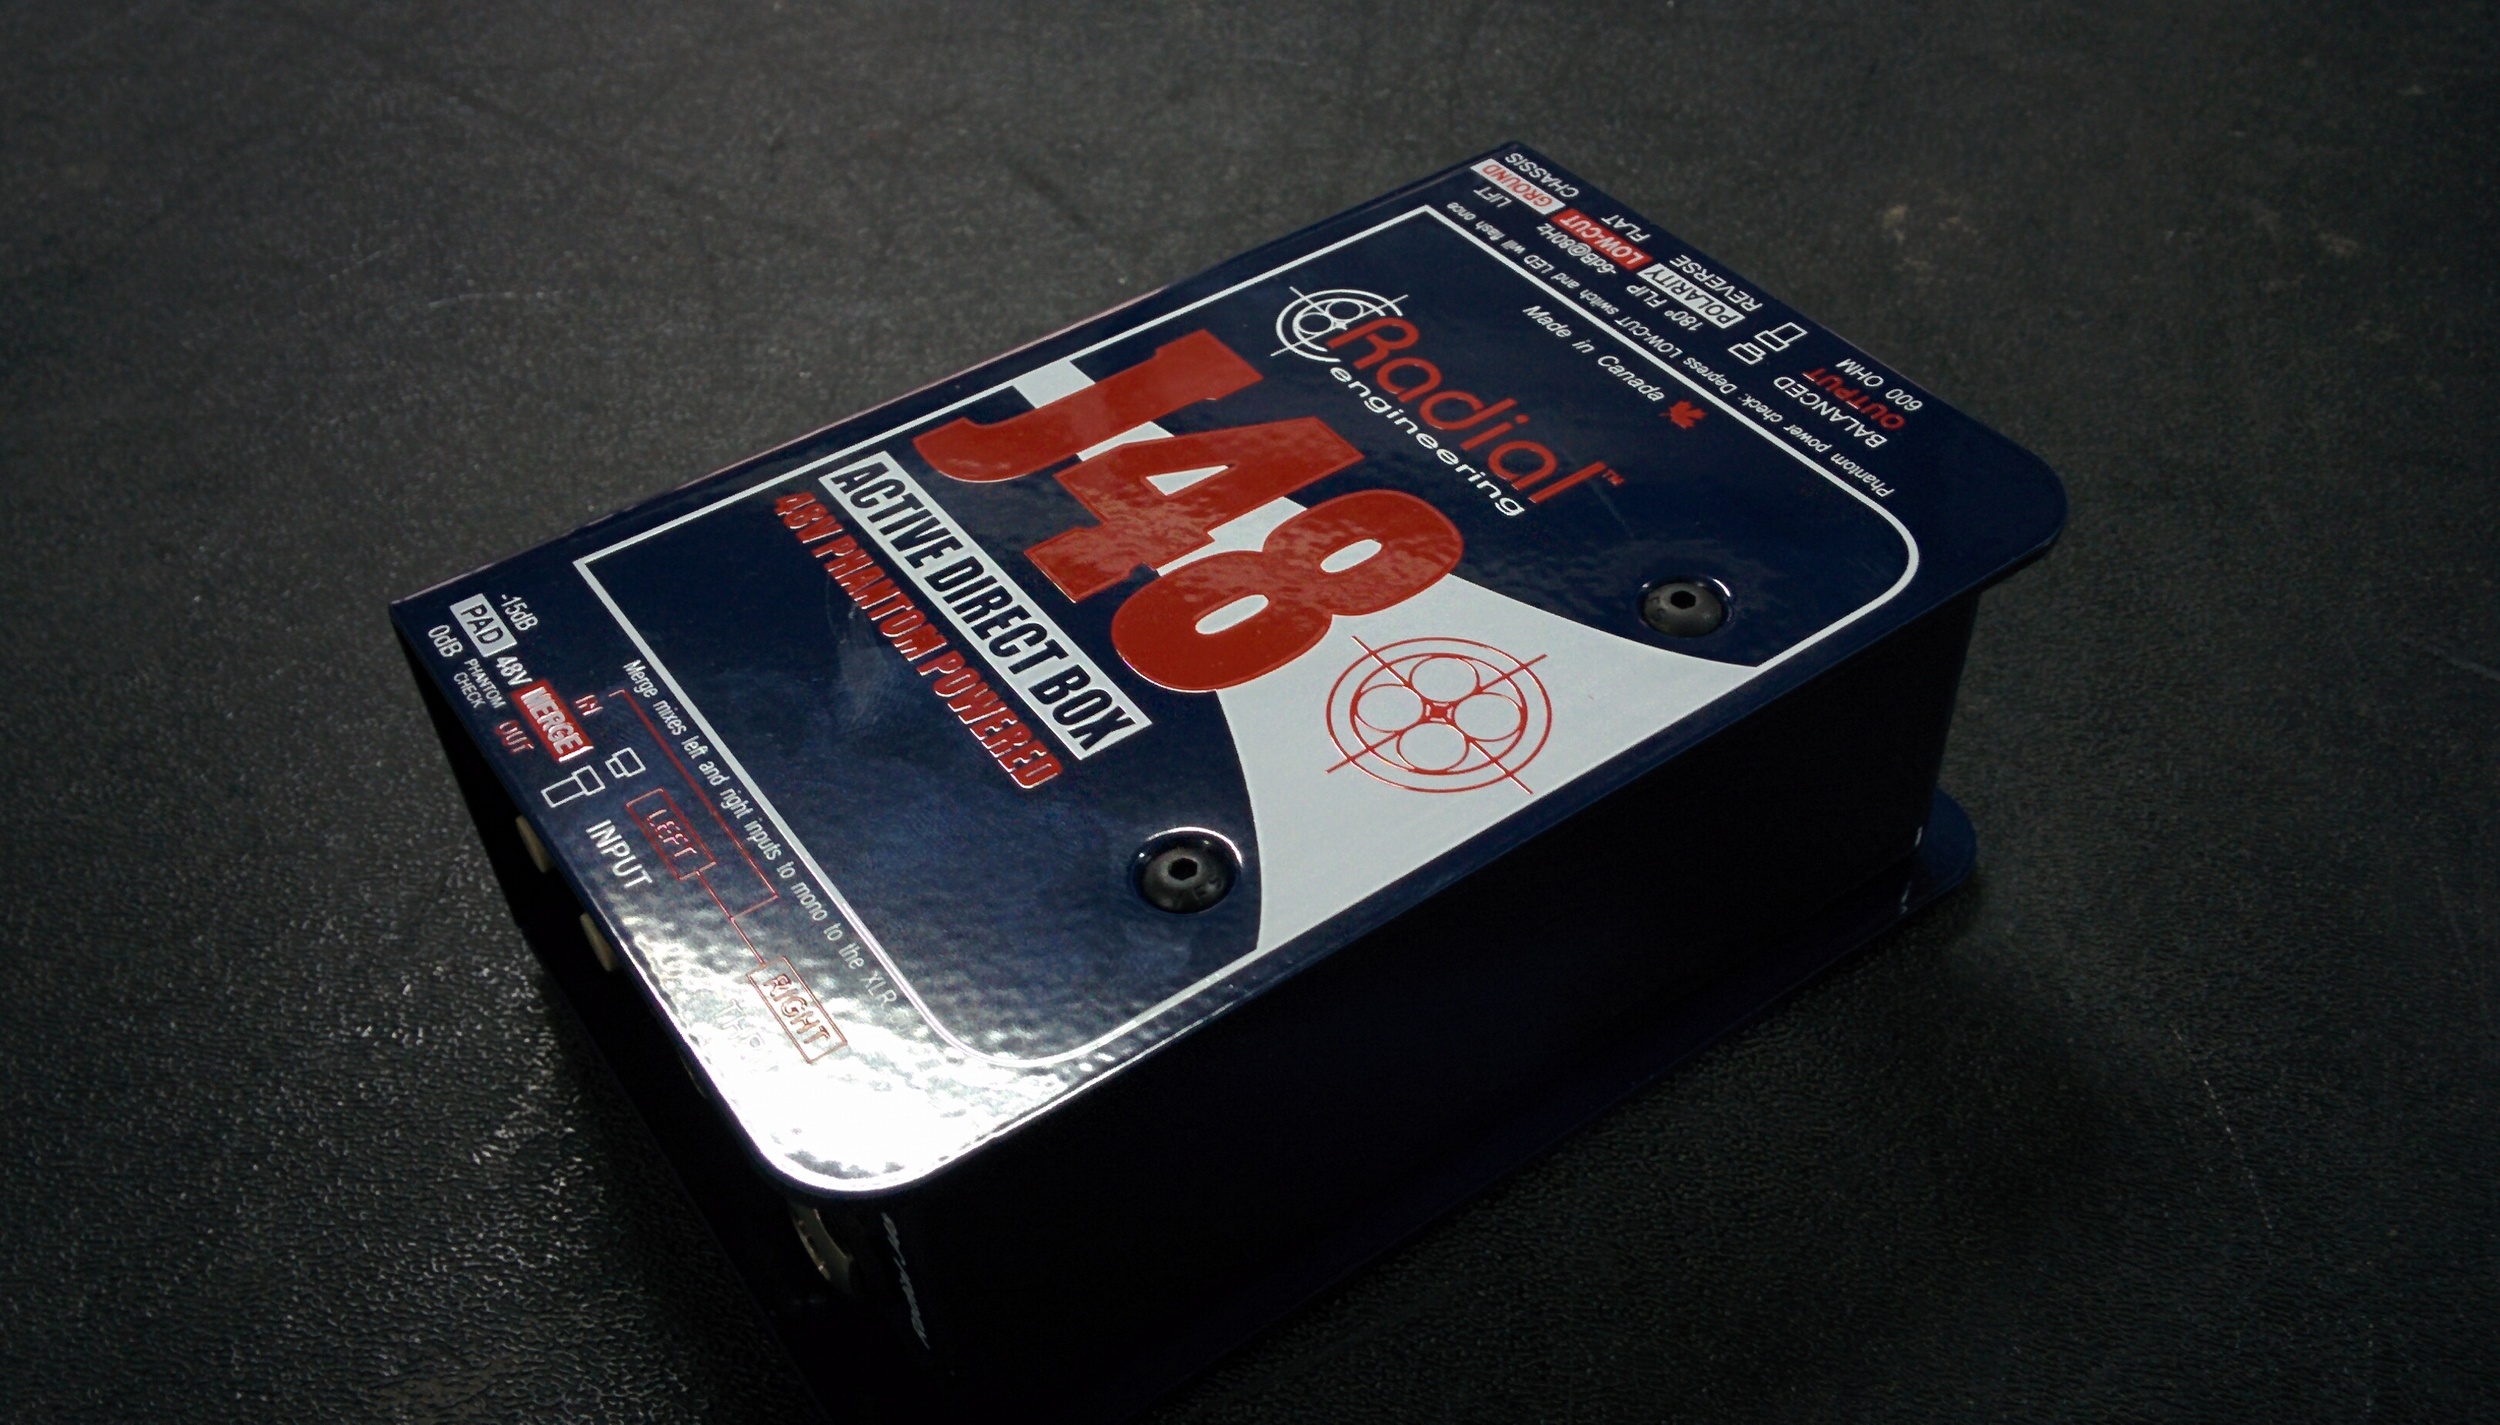
Unlike the passive DI, an active DI boxes can be very complicated. For instance, an active DI unit contains a preamplifier, which provides gain (amplification for further processing) for the incoming signals. With the introduction of a preamplifier, most active DI has a higher Signal to Noise Ratio (SNR) than a passive DI (higher signal integrity). However, in order to operate, the unit requires an external power source such as phantom power (e.g. P48) or battery (usually a 9-volt battery).

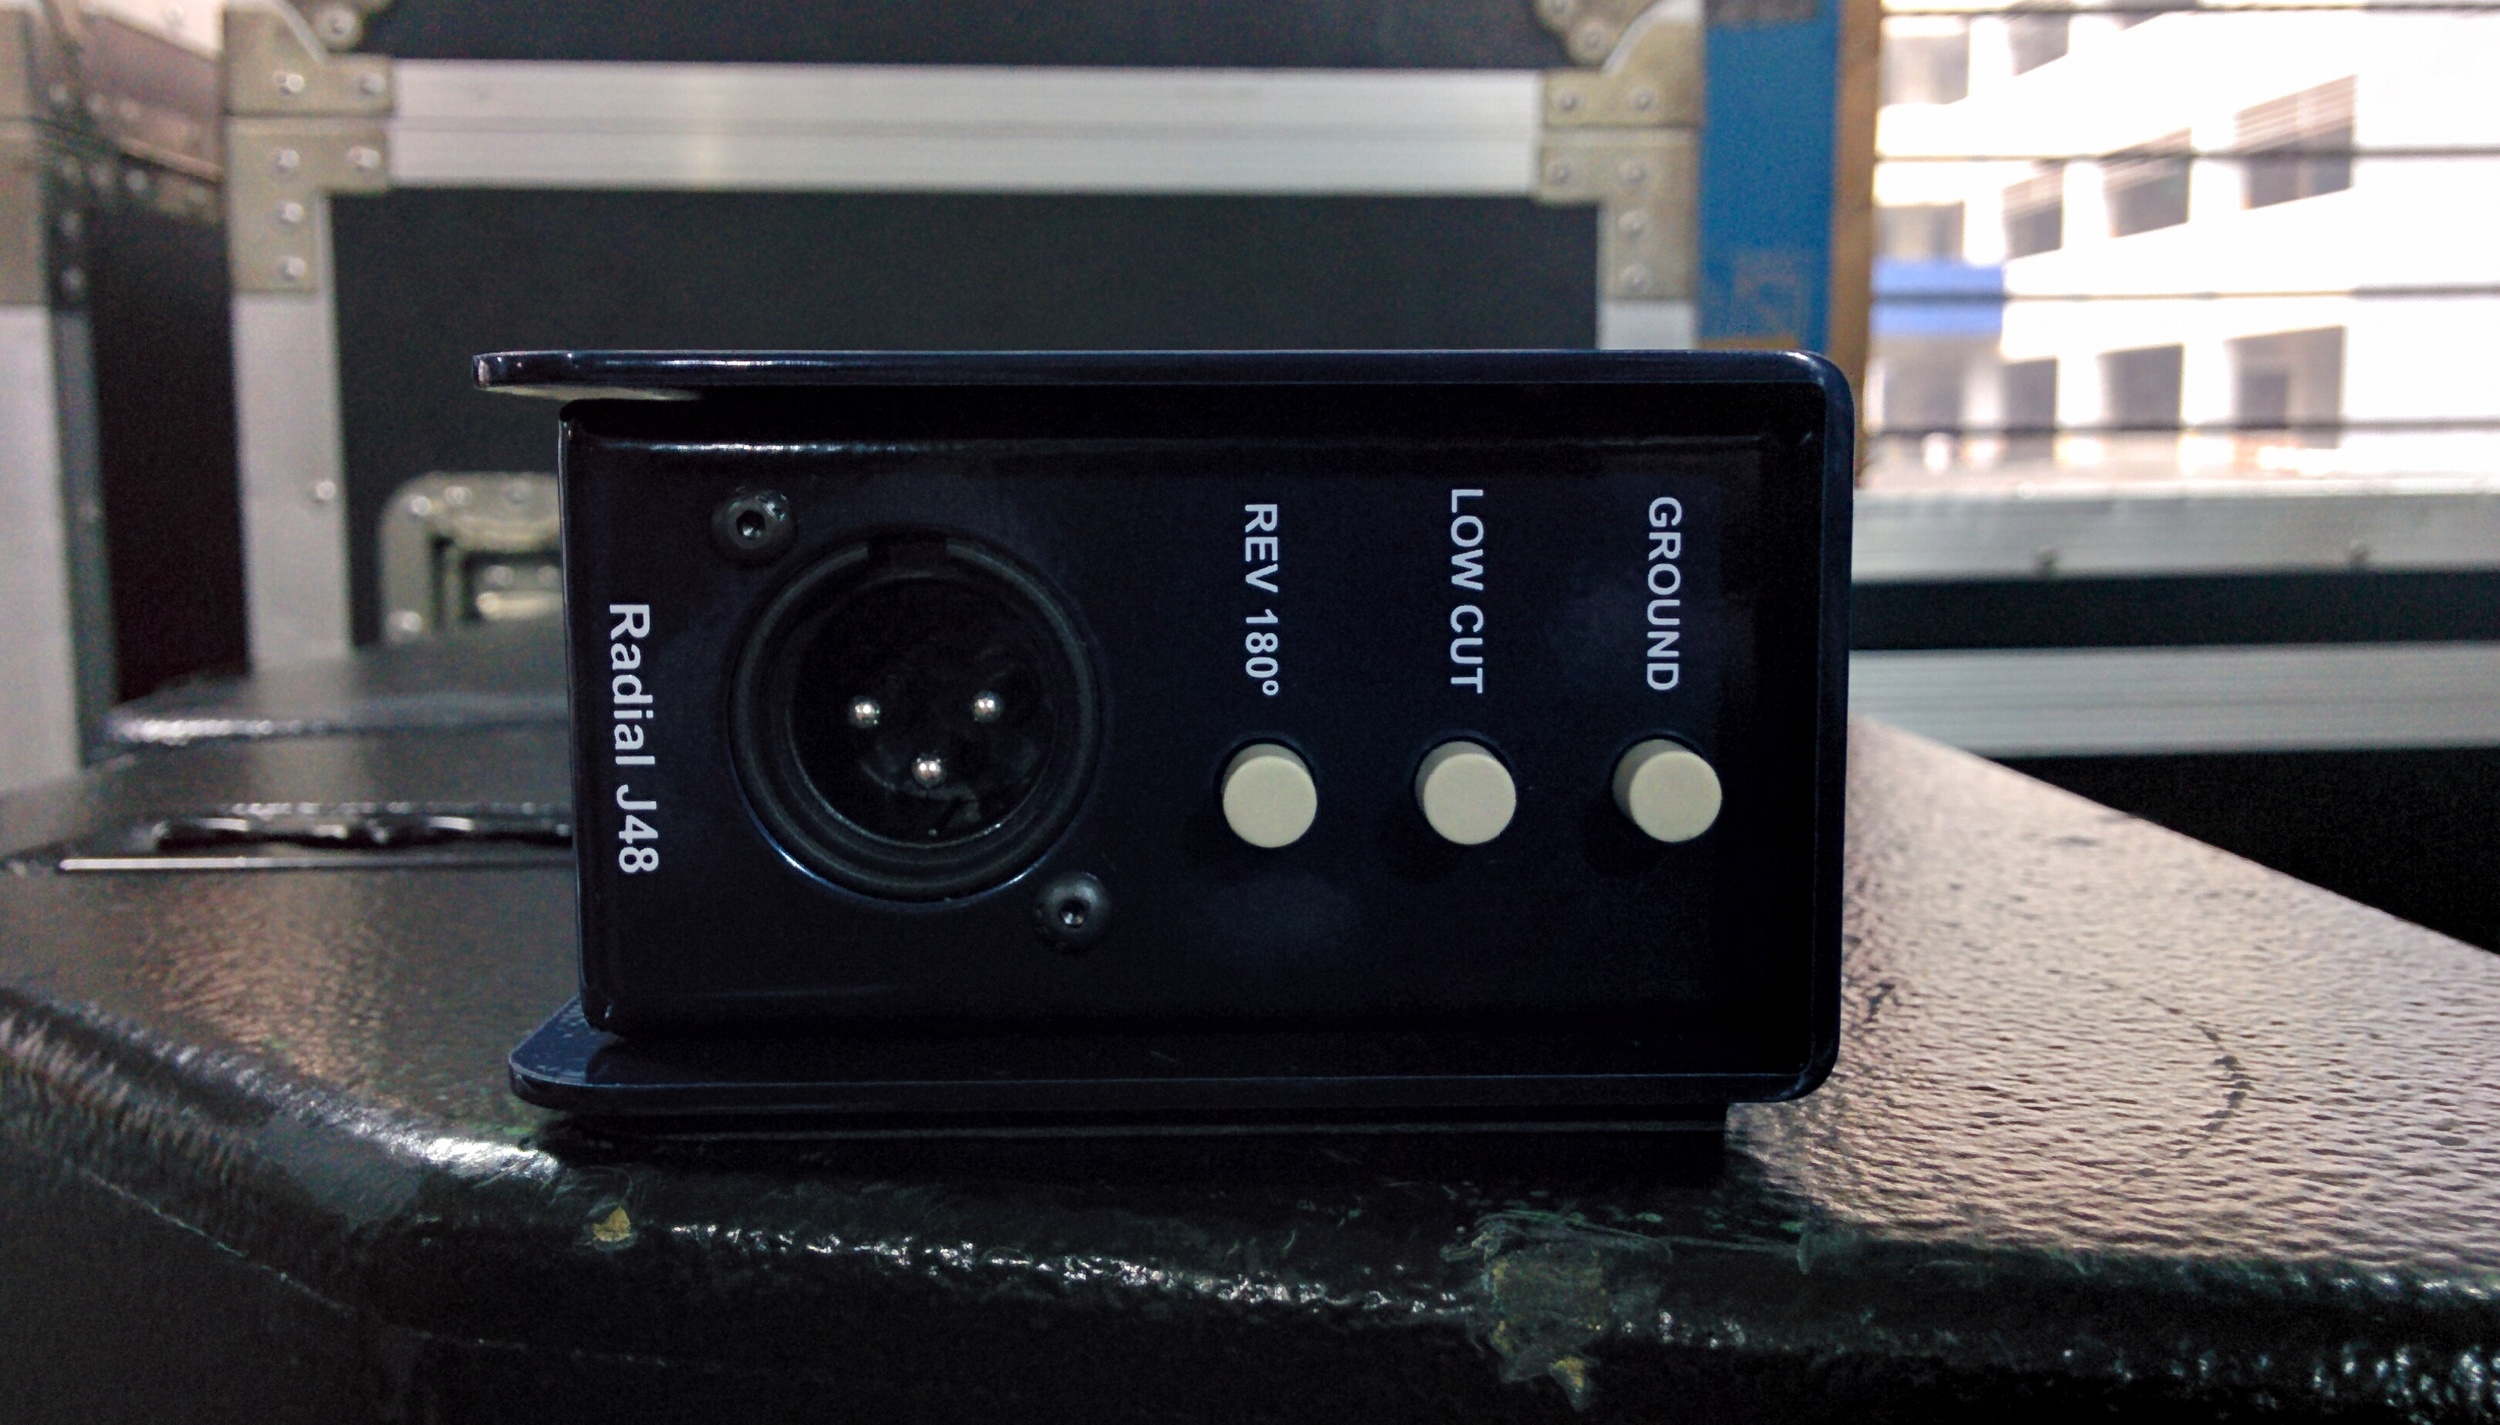
Radial J48 active DI box

Below are some examples of DI box applications:

Converting high to low impedance. Most consumer devices and musical instruments only provide high impedance output. Thus, a DI box is required to step down the impedance level as the mic/line input most audio consoles or interface does not do support high impedance input. Unless the audio interface provides support high impedance (High-Z) input then a DI box is not required.

Instrument input switch (From Low-Z to Hi-Z), M Audio Profire 2626

Converting unbalanced to balanced signal. In many cases, the locations of the electronic instruments you are recording (e.g. keyboard) exceed the distance for unbalanced signal transmission. A DI box is needed to transform the unbalanced signal (not more than 5m) to balanced signal (more than 70m).

Instrument amplifier applications. It is a common practice for audio engineers to record both the dry (line input) and wet (cabinet sound) of an amplified instrument (e.g. electric guitar). This approach is useful as it provides a "clean" signal (line input) and the unique sound of the guitar cabinet (mic pickup). Some DI box has a pass-through feature where it is paralleled to the input signal, hence, keeping the setup simple and efficient. The cabinet can be connected to the pass-through output while the line input on the audio console can be linked to the DI output (Low-Z).

Input pass-through port on the Radial J48

A good DI box will last for ages and if you are planning to get one, I would suggest getting a ruggedly built unit. Do note that the examples mentioned above are just the tip of the iceberg and you should not just strictly follows the application illustrated above. The key point is to understand the characteristic of a DI box and integrate it when necessary.

YWFU